Cyberpunk 2077: Phantom Liberty's 'Somewhat Damaged' Quest Ultimate Survival & Ending Guide
Master the nerve-wracking 'Somewhat Damaged' quest in Phantom Liberty, a survival horror climax where you navigate the Cynosure facility and confront a relentless killer robot.
Hey chooms! So, you've made it to the absolute nerve-wracking, edge-of-your-seat climax of the Phantom Liberty expansion—the 'Somewhat Damaged' quest. Let me tell you, as someone who just crawled out of the Cynosure facility, this isn't your typical 'go here, shoot that' mission. This is a full-blown survival horror experience inside our favorite cyberpunk RPG. Remember the tension from the early days when we were all dodging police? Multiply that by a hundred, add a relentless killer robot, and you've got this quest. It's 2026, and this DLC still hits harder than a charged Gorilla Arm punch. Ready to dive into the deep end with Songbird and face the consequences of your choices in Firestarter? Buckle up.
The Descent Begins: Finding Songbird's Trail
After the explosive events of 'Black Steel in the Hour of Chaos', Reed isn't exactly in a celebratory mood. He'll point you towards the wreckage of Songbird's escape attempt. Your first task? Investigate the crash site of that MaxTac truck. It's a straightforward start, but don't get comfortable.

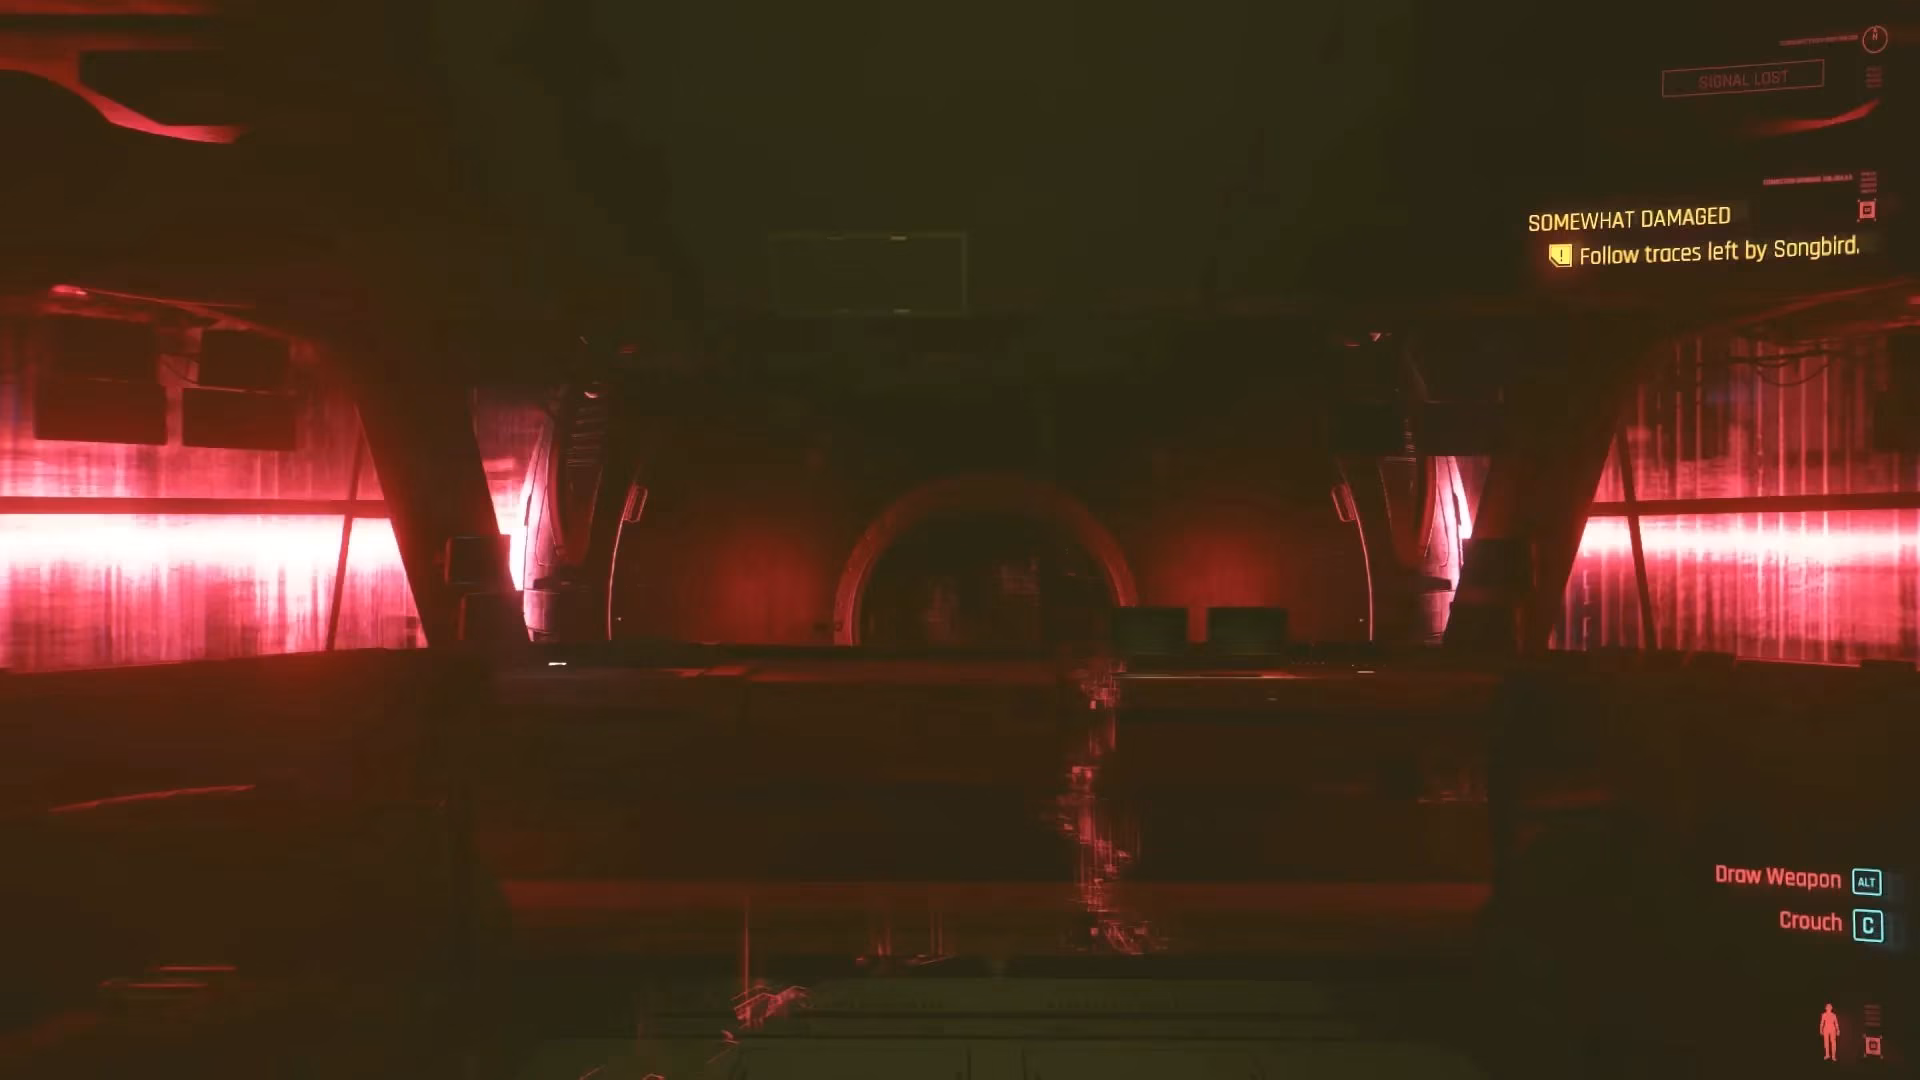
Follow the circular path down. Once you hit ground level, turn right and jump through that window in the corner—classic Night City parkour. Reed will be in your ear, guiding you to follow the creepy, pulsing traces of the Blackwall. This glowing residue is your breadcrumb trail through the entire facility. You'll descend through the ruined building until you hit a sealed door. Force it open (feels good, doesn't it?). Keep following the Blackwall goo until you see a familiar face: Johnny Silverhand, looking as smug as ever on a broken platform. From here, it's a leap of faith down a shaft into water. Resurface, follow the trail again, and you'll arrive at the entrance to the Cynosure facility. Just as Reed starts giving more orders, Songbird cuts in, her voice strained. The real game is about to start.
Navigating the Cynosure Labyrinth
Songbird's interruption is your cue. Open the door on your left (a minor Body Attribute check—hope you've been working out!). Inside, the Blackwall residue leads you to an elevator. This thing takes you deep. When it stops, run forward to a closed gate. See that room marked 'Restricted Area' on your right? That's your ticket. Go in, turn left into the maintenance shafts.
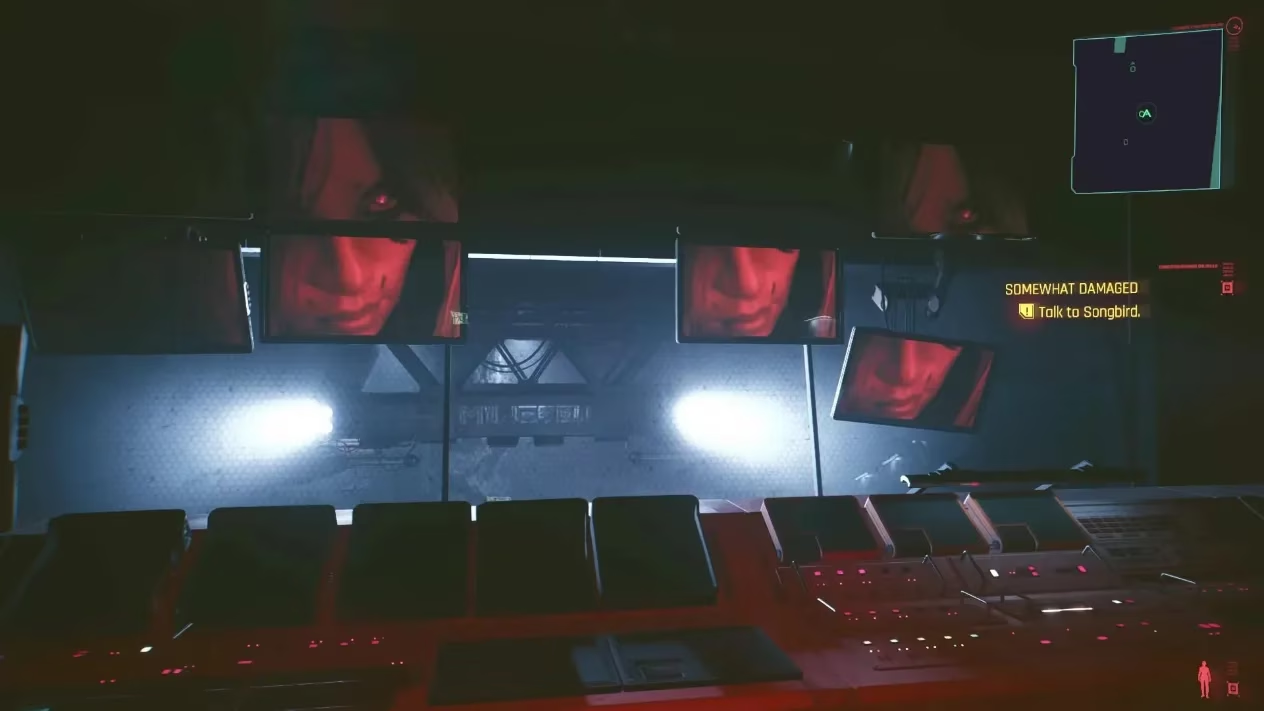
Head straight, turn left, and drop down. Here, you'll witness a holographic memory of Songbird talking to Kurt Hansen. It's a crucial story beat—pay attention. After the memory fades, talk to Songbird. She's... not doing great. Then, go through the door on your left (another Body check!). Take a sharp right, move forward, and you'll spot her standing in a large doorway. You're so close! But of course, the door slams shut, and a robotic voice announces: "Facility Lockdown Initiated." Great.
Lifting the Lockdown: A Game of Cat, Mouse, and Dataterminals
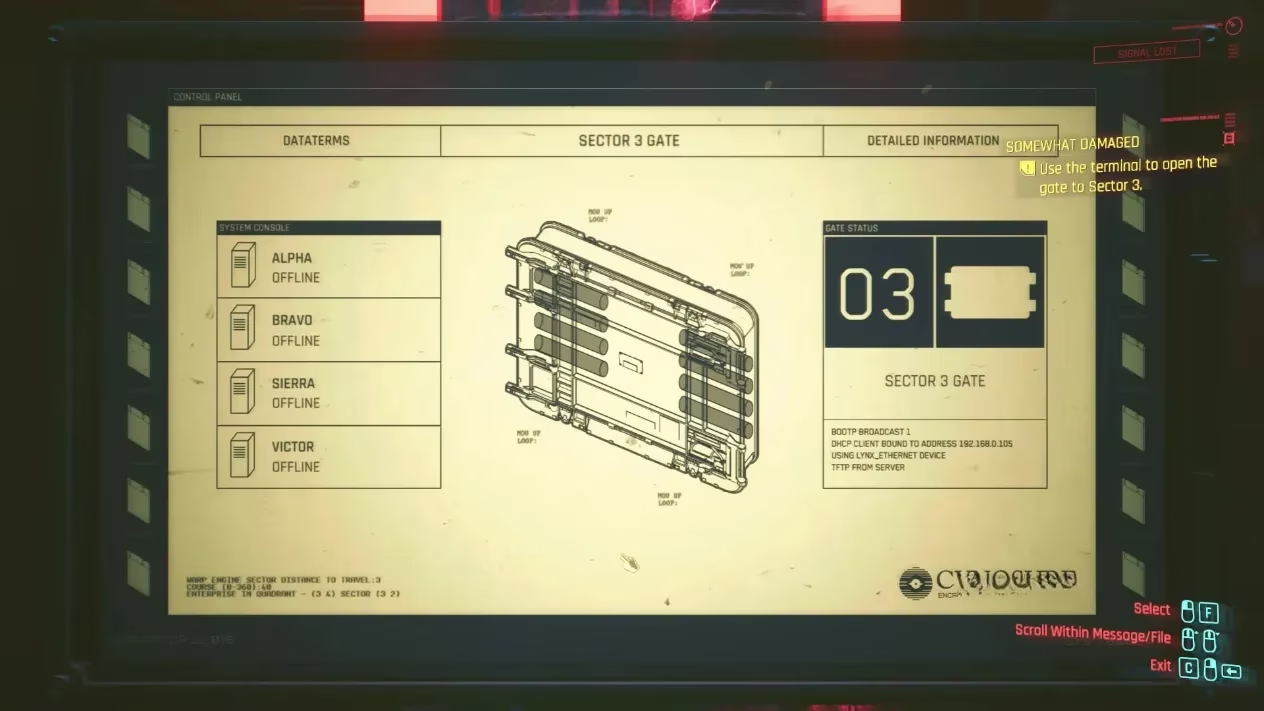
Panic? Maybe a little. But check the terminal on your left by the sealed gate. The status screen reveals the problem: Dataterminal Alpha and Dataterminal Bravo need to be shut down. Think of this as a deadly IT job.
-
Dataterminal Alpha: Located in the Server Room to your left. Force the door open and jack into the terminal. Songbird will try to lock you out, triggering a Breach Protocol minigame. Solve it to disable Alpha. This action pops open a service hatch right below you.
-
Dataterminal Bravo: Drop down the hatch—it leads straight to Bravo. Scan the terminal to find a cable behind it. Simply remove the cable to shut it down. Easy, right?
Wrong. Disabling Bravo triggers a cutscene. A ceiling grate crashes down, and then... it drops.
Meet Cerberus: Your New Worst Nightmare
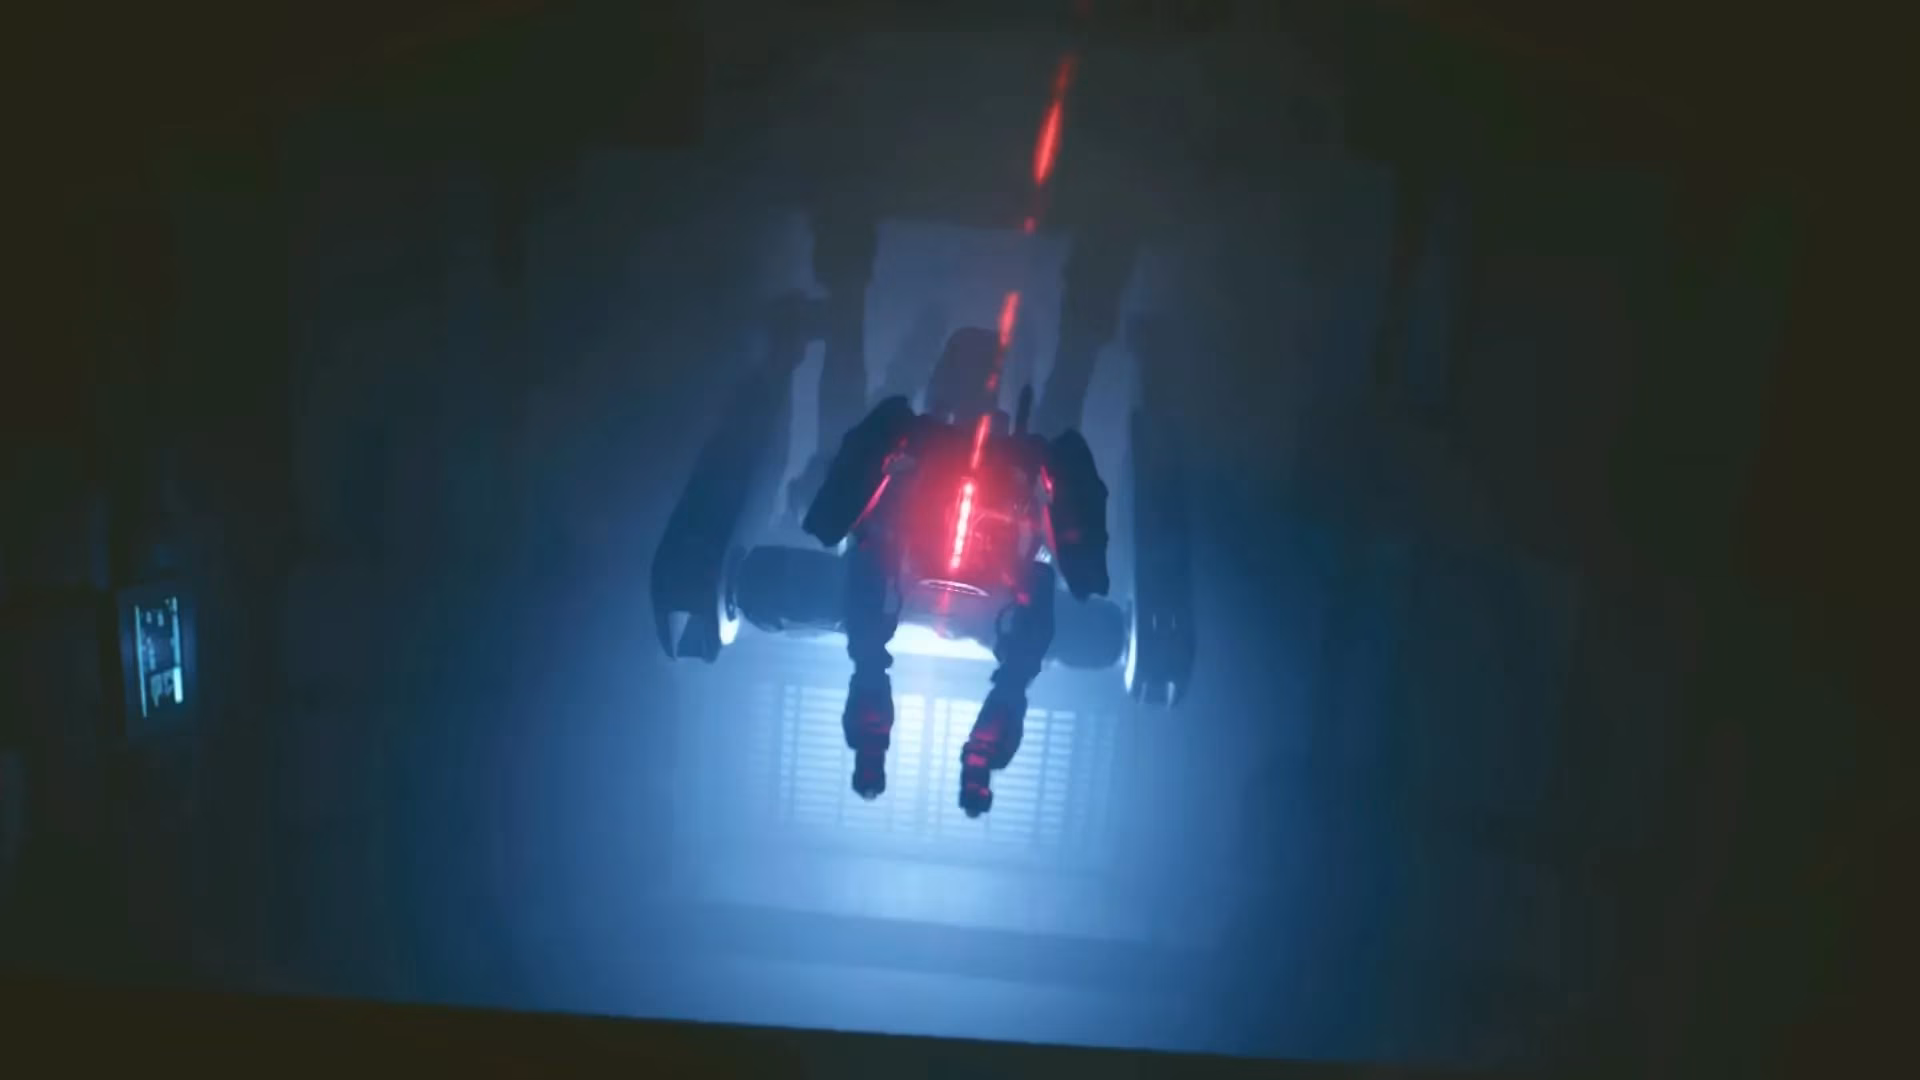
A Militech Cerberus robot drops from above. Songbird tries desperately to fight the Blackwall AI controlling it, but she fails. Your mission updates instantly: 'Hide from the robot.' You cannot fight this thing. You can only run and hide.
Regain control and immediately dart into the room in the hallway to your left. Inside, look for a small opening to drop down. From this moment until the end of the quest, this robot will be hunting you. It has a detection field (a red cone of light) and patrols with terrifying persistence. Getting caught means a quick, game-over reload. My heart has never pounded so hard playing this game. Stealth is not a suggestion; it's a requirement for survival.
Breaching Sector 3: Two More Terminals to Go
Your next objective is to disable two more dataterminals: Sierra and Viktor. This is where your stealth skills are truly tested.
Follow the drop passage to a yellow ladder. Climb up, turn left, and enter the medical room.
-
Dataterminal Sierra: It's in the Engineering section on the other side of the medical room. Jack in, complete the breach protocol to disable it. WARNING: This will immediately draw Cerberus to your location. Hide in a locker or behind cover until it stomps away.
-
Dataterminal Viktor: Head to the Security section. Exit the current room, open the door on your left, turn right, then right again, go straight, and enter the second room on your left. The process is the same: jack in, breach protocol. And again, HIDE as soon as you're done.
With all terminals disabled, sprint back to the once-sealed gate. Use the terminal to open it. Cerberus will be on your tail—RUN STRAIGHT. Don't look back. You'll hit a dead end, but there's an airlock on your left. Get inside, and the relentless pursuit temporarily ends. Breathe.
The Final Puzzle: Shutting Down the Core
Through a series of airlocks, you'll finally reach the Core control room. The goal is to shut down the core, but of course, the console fails. You need to manually fix issues in three separate locations. Here’s your cheat sheet:
| Location | Directions | What To Do |
|---|---|---|
| Neural Networks | Exit Core control, enter labs on right. First left in hallway, room on right. | Disconnect the three cables. Simple interaction. |
| Datafront Central Command | Exit Neural Networks, return to first hallway. Left to Observation room door, then left into Command. | Destroy all six firewalls. Use your gun! |
| Thermic Control | In the Observation Room. Head straight, scan to follow cables to an electrical box on room's outer side. | Rewire the box. Another quick interaction. |
CRITICAL REMINDER: After fixing each room, Cerberus will be alerted and come to investigate. Your routine is now: Fix -> Immediately find a hiding spot -> Wait for it to leave -> Move to next location. Patience is key.
Once all three issues are resolved, return to the Core Control room. Attempt to shut down the core again.
The Weight of Choice: Deciding Songbird's Fate
This triggers the final sequence. You'll have a long, emotional conversation with Songbird (So Mi). She's broken, in pain, and begging for an end. Johnny will even chime in with his two eddies. This is it. The culmination of the entire Phantom Liberty story rests on your next decision.
You have two choices, leading to two profoundly different endings:
-
Honor Her Wish / Kill Songbird: This results in the King of Cups ending. It's a merciful, tragic end. You give her the peace she desires.
-
Hand Her Over to Reed: This results in the King of Pentacles ending. You fulfill your duty to the NUSA, but at what personal cost?
There is no "good" choice here, only what you, as V, can live with. It's a classic Cyberpunk 2077 moral dilemma, perfectly executed. So, choom, what's it gonna be? Will you be the merciful friend or the loyal agent? The fate of Songbird, and a piece of your own soul, is in your hands.