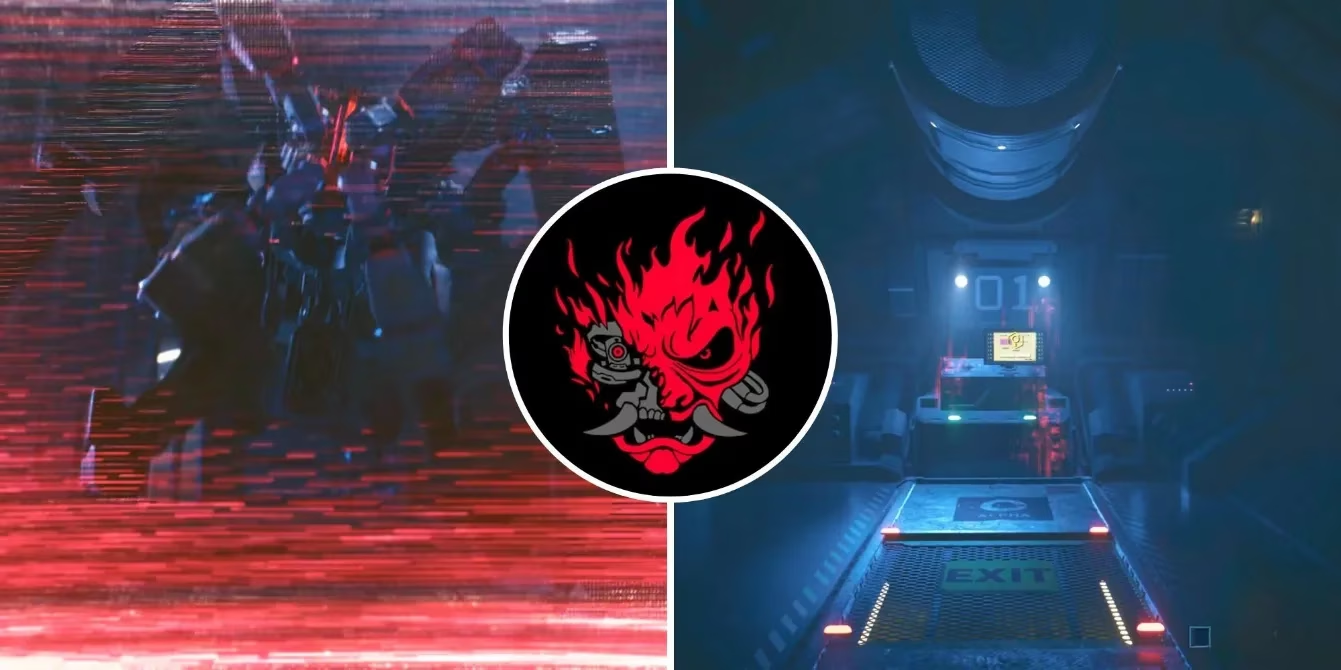
How to Complete Cyberpunk 2077's 'Somewhat Broken' Mission in 2026
A step-by-step Cyberpunk 2077 Phantom Liberty Somewhat Broken guide: tracking Songbird’s trail and shutting down the Cynosure core.
Cyberpunk 2077: Phantom Liberty, the sprawling expansion to CD Projekt Red’s dystopian RPG, has kept players engaged long after its 2023 launch. One of its most mind-bending missions, 'Somewhat Broken,' tasks V with navigating a surreal, underground facility filled with haunting visions and a relentless hostile machine. Even in 2026, many Night City mercenaries still seek guidance on this labyrinthine quest. This guide breaks down every step, from tracking Songbird’s trail to shutting down the Cynosure core.
📍 Following Songbird’s Trail
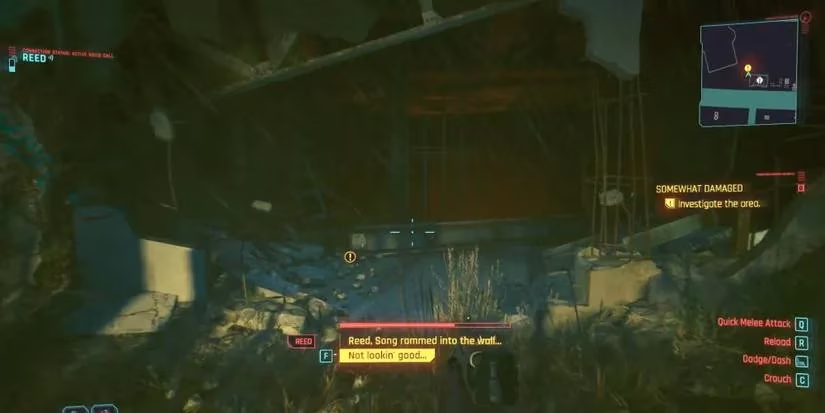
The mission begins by directing V to West Wind Estate in Pacifica. Upon arrival, nearby NPCs will be gossiping about how Songbird drove a truck straight through a wall “like it was cardboard.” Head through the enormous breach and locate a damaged gate. You’ll notice several platforms below – drop onto them and move counterclockwise along the metal walkway to descend deeper into the area. At the bottom, proceed to the corner with shelving units; on the opposite side is an opening you can vault over. Shortly after, you’ll discover the truck Songbird used. Investigate it to encounter an inexplicable energy trace, then leave the area via the opposite side of the opening and turn right to find a descending path. Stay close to the wall to avoid fire hazards.
Soon, a blinking light above a sealed gate comes into view. Interacting with the panel reveals it’s locked. Turn around, head forward, and watch the floor until you spot a hatch marked “Exit.” Open it and drop into the water below. Swim in the direction of the gate from above and climb the ladder out. Turn right, pass through a broken section in the wall, and follow the corridor while watching the bottom right wall for a crouch-through opening. Continue until you crash into more water. Swim toward the quest marker while keeping an eye on the roof; an air pocket allows a brief respite, but a fast swim can clear the section in one go. Climb out, walk forward, and step over the edge to fall through the floor into yet another pool. Swim up and use the stairs to the left of the marker to exit.
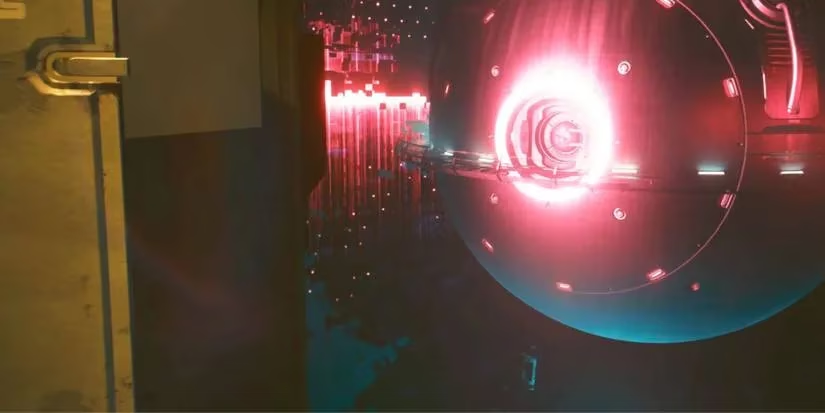
Advancing toward the quest marker, you’ll reach a red light accompanied by sparks from the ceiling. Look slightly right to spot a nook with a downward slope. This leads to a control room labeled “CYNOSURE.” Use the terminal there for a tense exchange between V and Songbird. Afterwards, exit in the opposite direction, traverse a corridor, and descend some stairs. At the bottom, look right to locate an elevator. Ride it down, move straight to a large red light above a tunnel, and follow the overhead pipes. At the tunnel’s end, you’ll see a “No Entry” sign. Turn right, follow the wall back, and enter a corner door. Open another door, look up and right to spot a ledge, and jump onto it – avoid the path heading right from here. Climb the ledge, turn left, and watch V’s vision glitch out with the same mysterious energy. Continue to a hatch, drop through it, and exit via the door at the bottom.
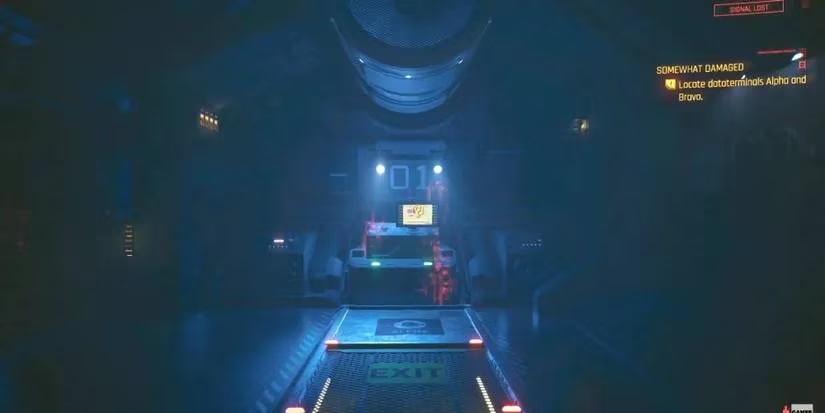
💻 Using All The Dataterminals
V starts hallucinating fragments of Songbird’s past. Follow the corridor, force open jammed doors, turn right, and look left as you walk. A pathway with a bright light at its end will appear; head toward it. A door slams in your face. Interact with the terminal on the left – though it won’t open the door, it updates the mission. Turn around and look right to see a door bearing the quest marker.
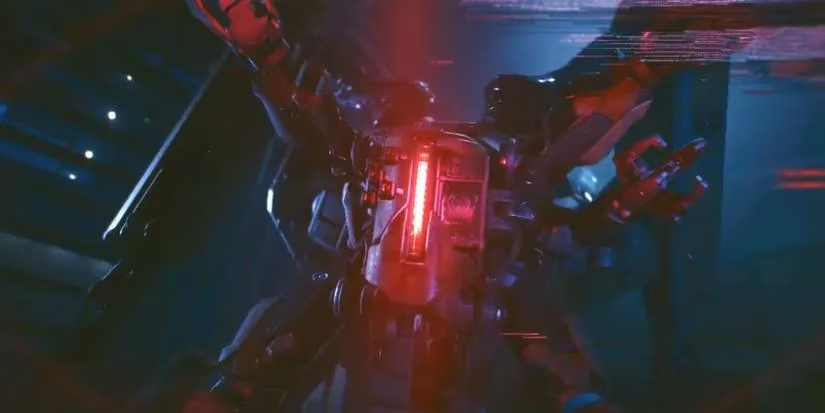
Enter the room and jack into the terminal to cancel the lockdown protocol. Follow the pipes from the room to a ladder, leading to another terminal. Jacking in causes V’s cyberware to go berserk. Crawl through the passage under the terminal and unplug the cable you find to trigger a scene with a hostile machine. Quicktime events will appear – successfully dodge them to avoid harming V. Once you regain control, walk forward, stay next to the left wall until you drop down, then sprint through a linear corridor. Vault over hurdles until you reach a ladder. Climb up, open the hatch, and – instead of turning left immediately – go straight while looking left until you notice a door. Enter it to find a medical room with another vision.
Move toward the doctors in the hallucination and through the door behind them. Follow the path looking right until you encounter doors marked “Engineering,” with terminals on both sides. Proceed through and enter the next set of doors to find another terminal you must jack into. Afterward, head back toward the entrance and wait for the hostile machine to move upward through the roof. Exit the room and take the next set of doors on your right. As you leave, turn right and watch the left side for a “Security Room” sign. Enter, pass through the doors on the right, then the ones at the far end of the pathway. This brings you to a room housing the next terminal. Stay hidden while the machine patrols. Once it’s far enough, force open the doors you entered from and cross to the other side for another hallucination. Continue in the direction it came from, pass through some doors, and directly ahead lies the final terminal.
🔥 Shutting Down The Core
Turn right and keep running – the hostile machine will give chase. You’ll reach a dead end, but on the left a blinking light above a door beckons. Use the terminal to its right to open it, then interact with the terminal on the door’s other side to slam the previous doors shut on the machine. As you leave, take the first right and use the terminal next to the door. This leads into a room with yet another hallucination. Once it fades, exit through the other set of doors and go left.
Follow the path through a series of doors until you enter the Core Control room. Interact with the terminal to initiate the shutdown procedure. Immediately turn around, exit, turn right, and go through doors labeled “Lab.” Move straight toward “Observation Room” doors, then look right to see “Datafort Central Command” above another set of doors. Continue following doors with the same name until you reach a terminal. After using it, destroy all firewall devices in the room. Retrace your steps, taking out the last two devices before reaching the Observation Room doors. Force them open and leave the way you came.
Take the first right to find doors marked “Neural Network.” Use the terminal underneath the quest marker, then unplug the cables on the floor to the left and right of the terminal. The hostile machine will peer into the room; stay low and hidden behind desks until it leaves. Exit, return to the Observation Room, and cross to the other side where doors labeled “Thermic Control” await. Pass through two sets of these doors to reach a terminal. V’s cyberware will malfunction again, and the machine will start breaching the door you just entered from. Right before that door, a crouching spot allows you to hide safely. Examine the shutters in the corner, notice the broken window, and vault onto the ledge. Follow it to a power box you can interact with, then jump into the room where another memory of Songbird’s past unfolds.
Run to the far end of the room and take the doors back to the Observation Room. The hostile machine descends from the roof in front of the next set of doors you must pass through. Wait it out, staying completely concealed, until it retreats. Finally, move through those doors and head back to Core Control. A cutscene will conclude this surreal, high-stakes mission.
Even years after its release, 'Somewhat Broken' remains one of the most memorable and challenging segments of Phantom Liberty. The combination of psychological horror, platforming, and stealth demands patience and sharp reflexes. For those returning to Night City in 2026, this breakdown should serve as a reliable companion through the digital nightmares lurking beneath Pacifica.