Navigating the Somewhat Damaged Mission in Cyberpunk 2077: Phantom Liberty
Phantom Liberty's Somewhat Damaged walkthrough: track Blackwall echoes, explore Cynosure, and survive the unkillable Cerberus.
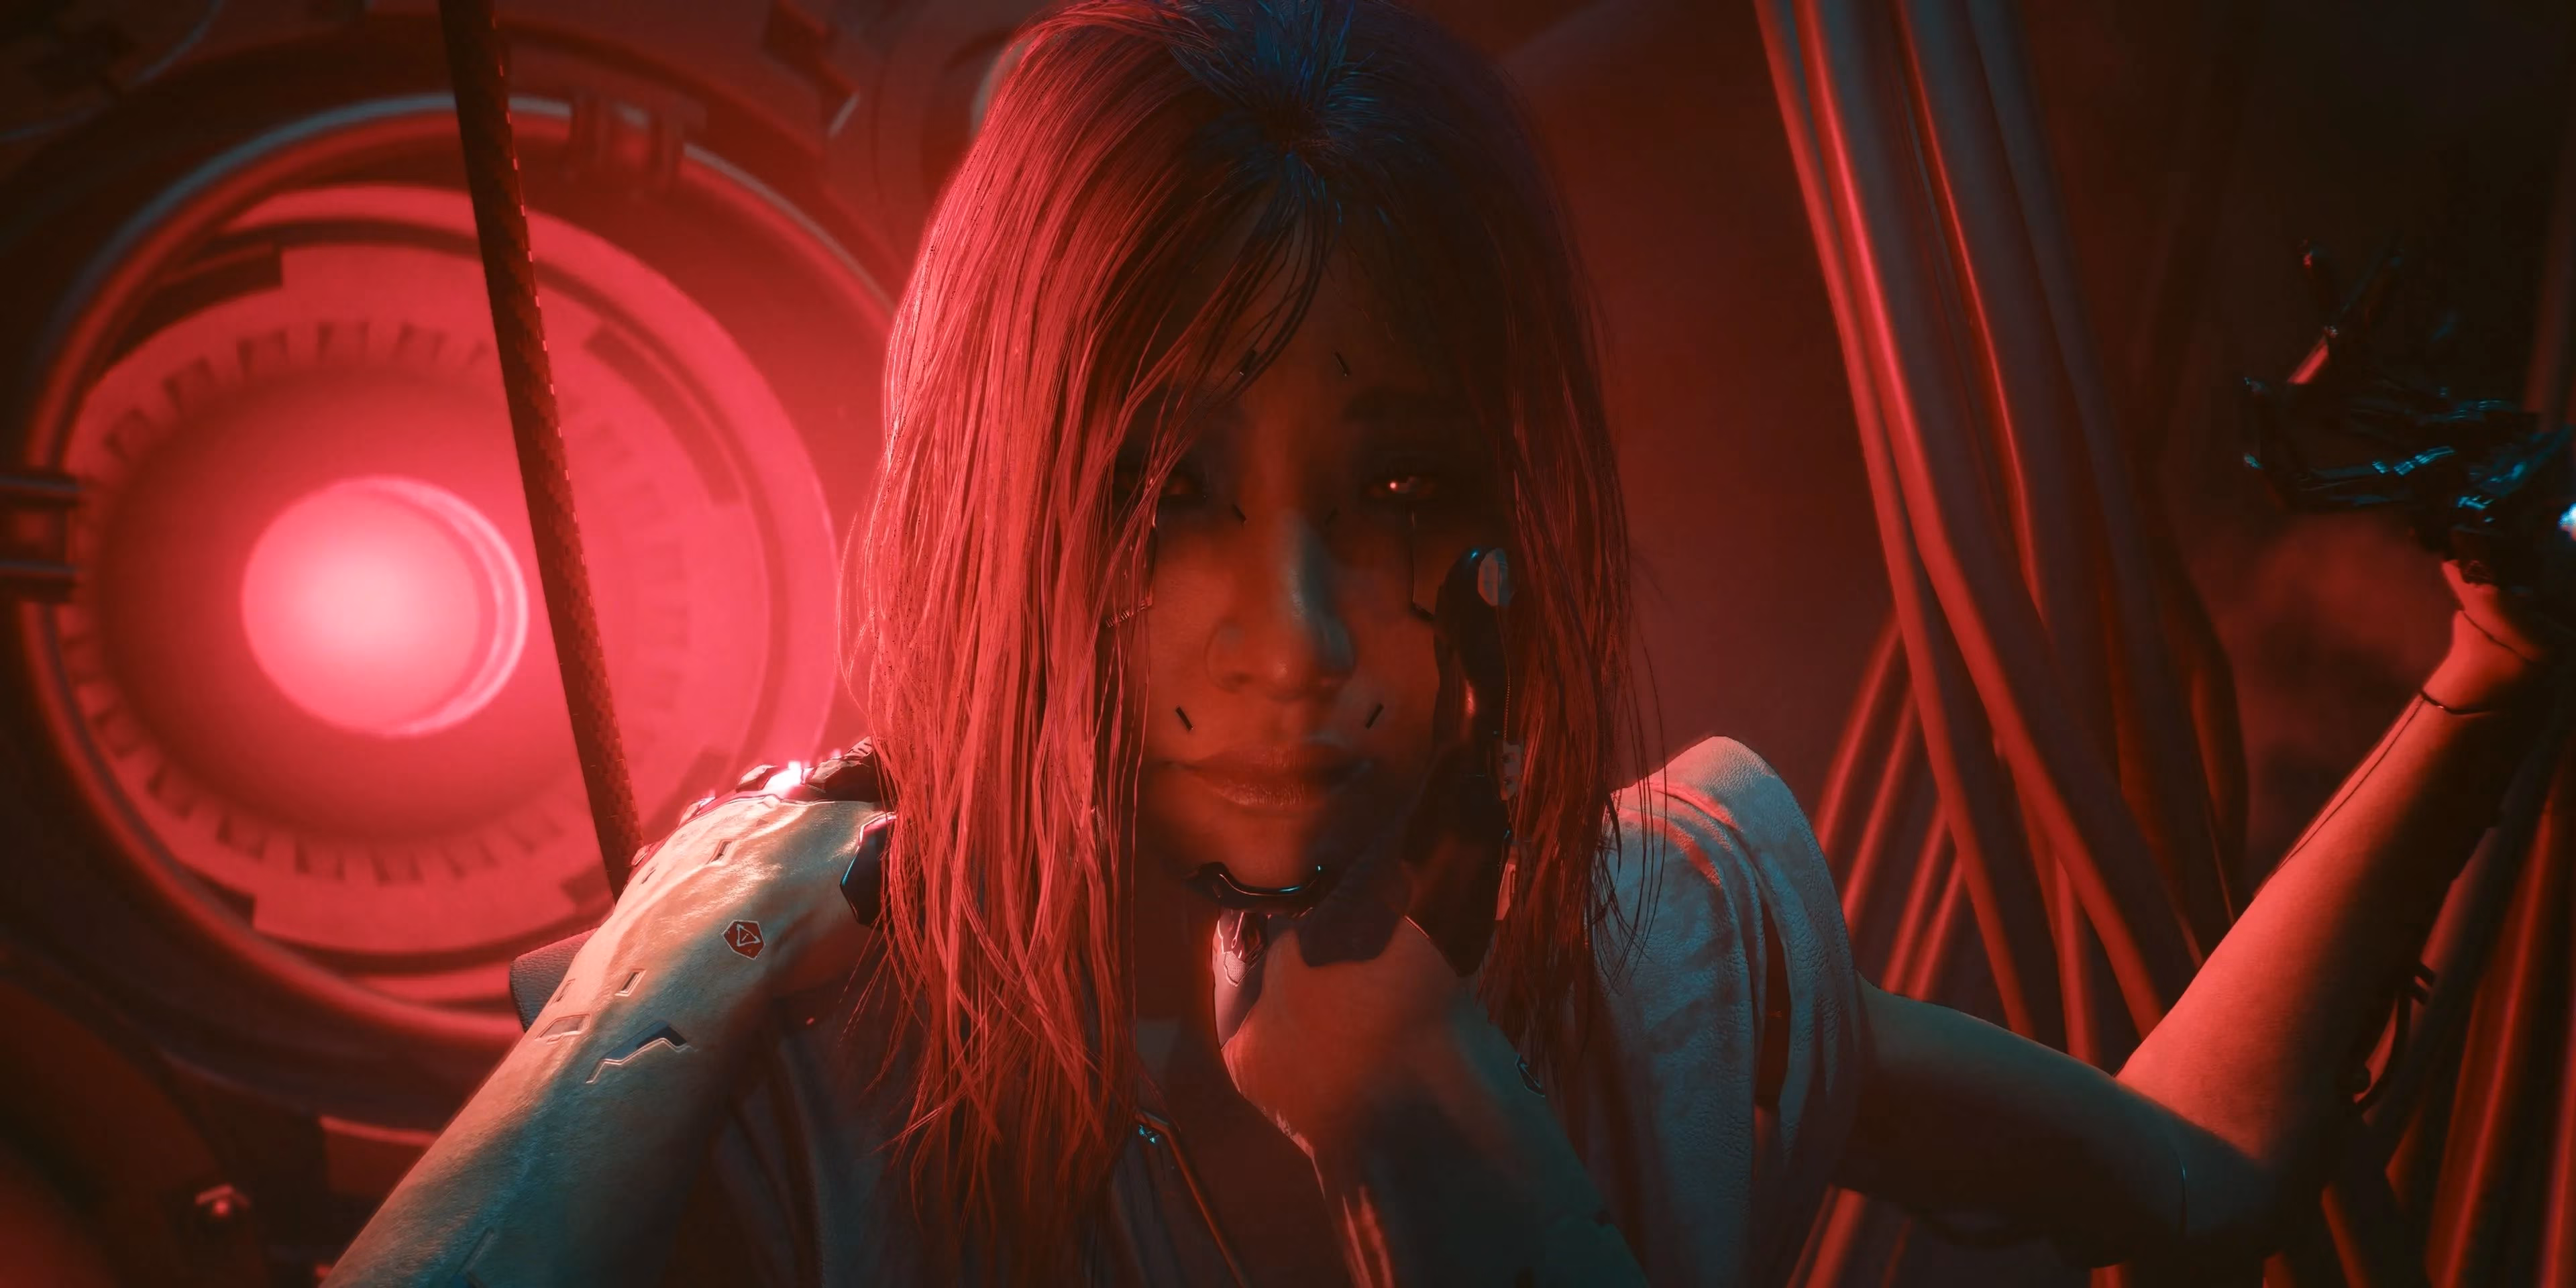
The moment V and Solomon Reed succeeded in capturing Songbird during the Firestarter mission, a brutal and emotional new chapter began. Somewhat Damaged throws players into the wreckage of a MaxTac transport truck in Pacifica, with the fate of So Mi hanging by a thread. There is no pause, no mercy — just a descent into a forgotten Militech bunker where nightmares are real and the Blackwall is bleeding through.
This walkthrough covers every step from the flaming truck to the hidden core of Cynosure. It also explains how to deal with the unkillable Cerberus robot, where to find crucial dataterminals, and what choices await at the very end. Keep in mind — many sections have no autosave mercy, so awareness is everything.
🚛 Following the Blackwall Echoes
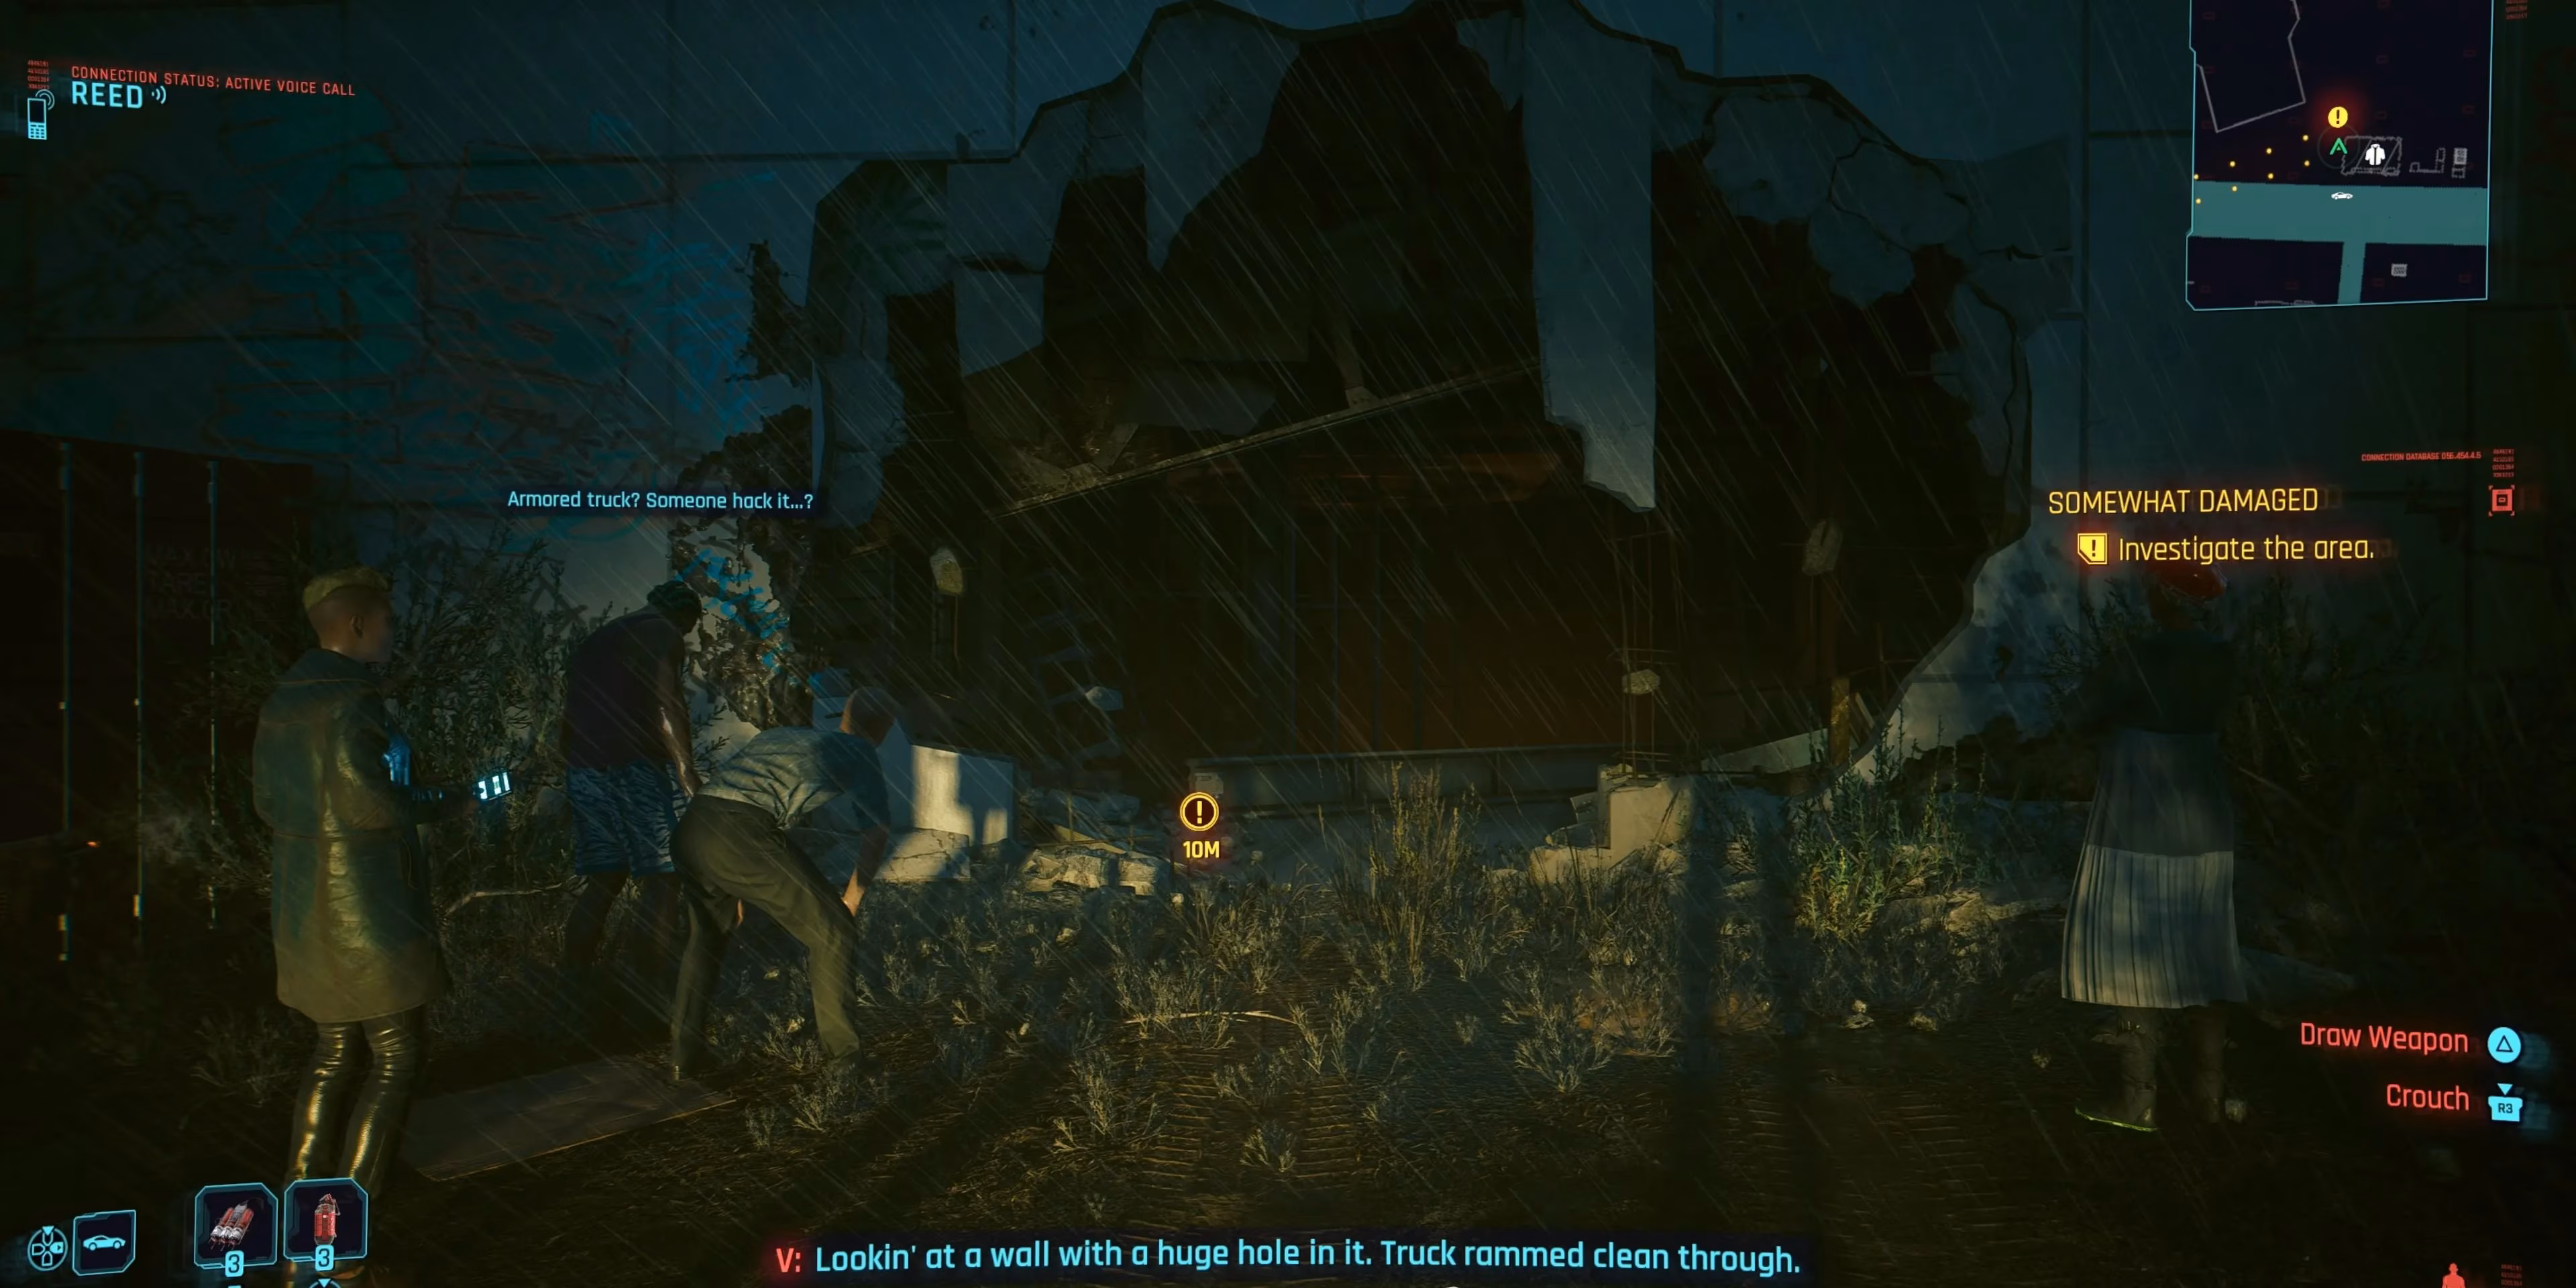
The mission begins in the immediate aftermath of Songbird’s rampage. V and Reed are staring at a collapsed wall not far from the crashed transport. Heading through that breach reveals the MaxTac vehicle burning inside a warehouse-like space. Closer inspection of the truck shows no sign of So Mi, but the trail of Blackwall traces is unmistakable. These glowing digital scars will be the breadcrumb trail for most of the level.
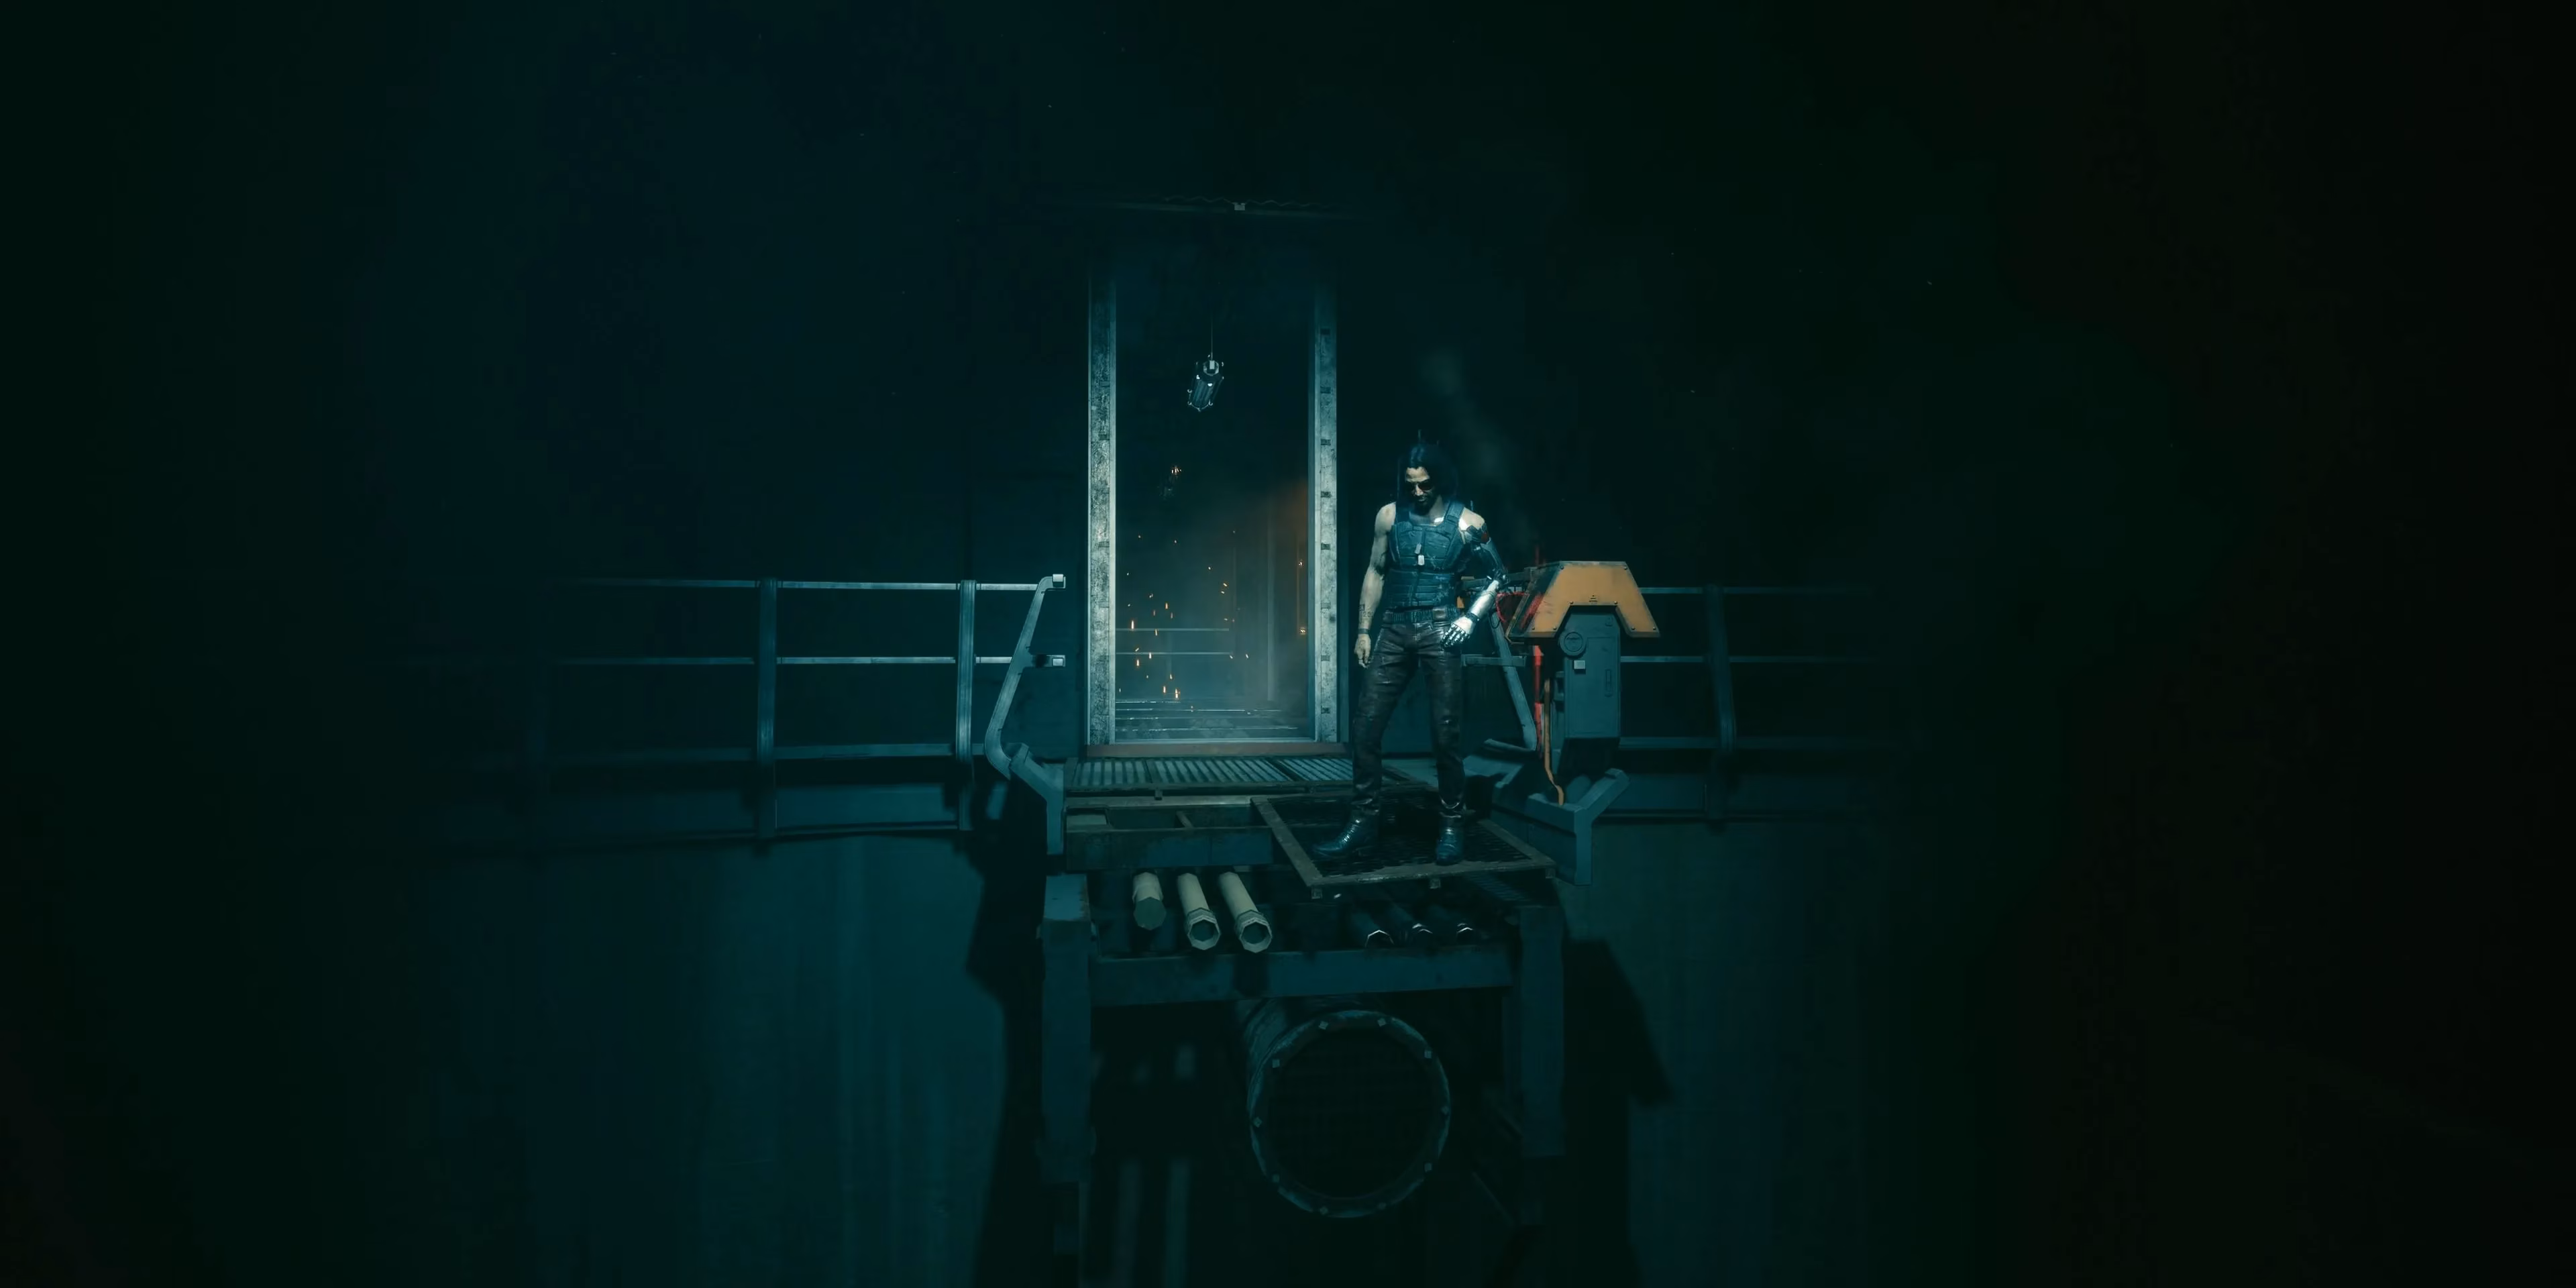
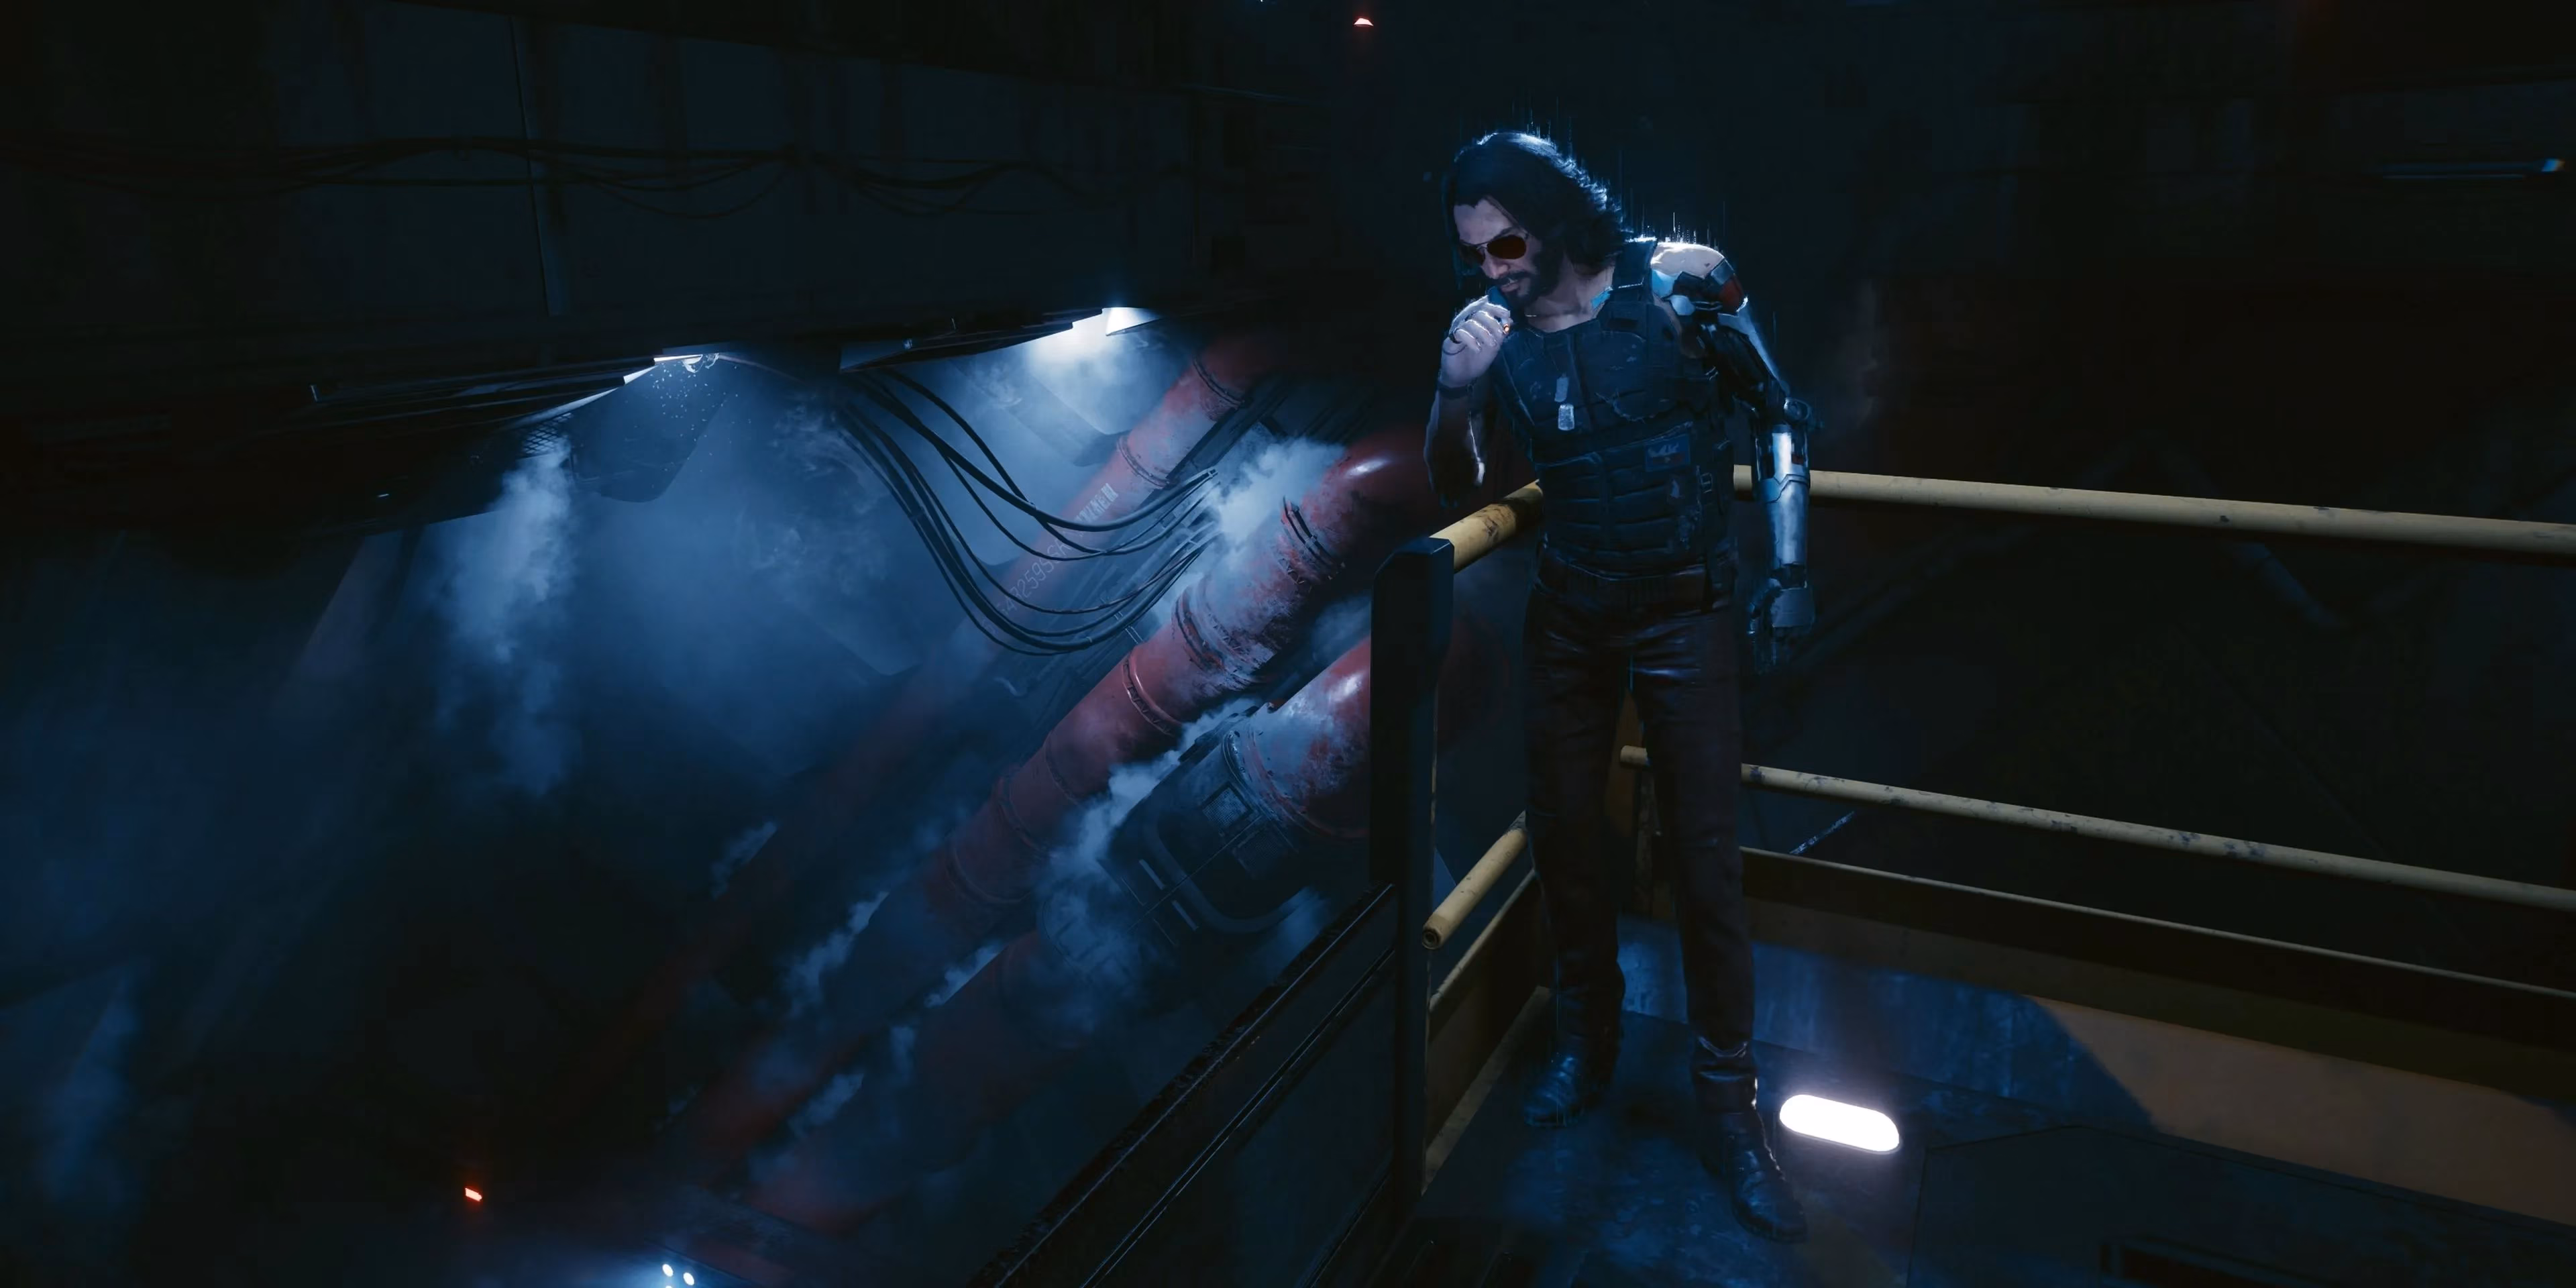
Past the truck, the first obstacle is a jammed door that demands 20 Strength. Most builds won’t hit that threshold, so turn around and look down — a floor grate opens regardless of attributes. Drop into the frigid water, swim through the submerged corridor, and emerge on the other side. There, Johnny Silverhand appears, staring into a deep shaft. A short conversation clarifies that the woman down there may no longer be the Songbird V once knew. Whatever she has become, the only way forward is down. The leap seems fatal, but water at the bottom nullifies any fall damage. Climb ashore, head up the stairs, and crawl through a ruptured wall into a relic of the pre-unification wars: the Cynosure facility.
🔐 Inside the Blackwall Nuke
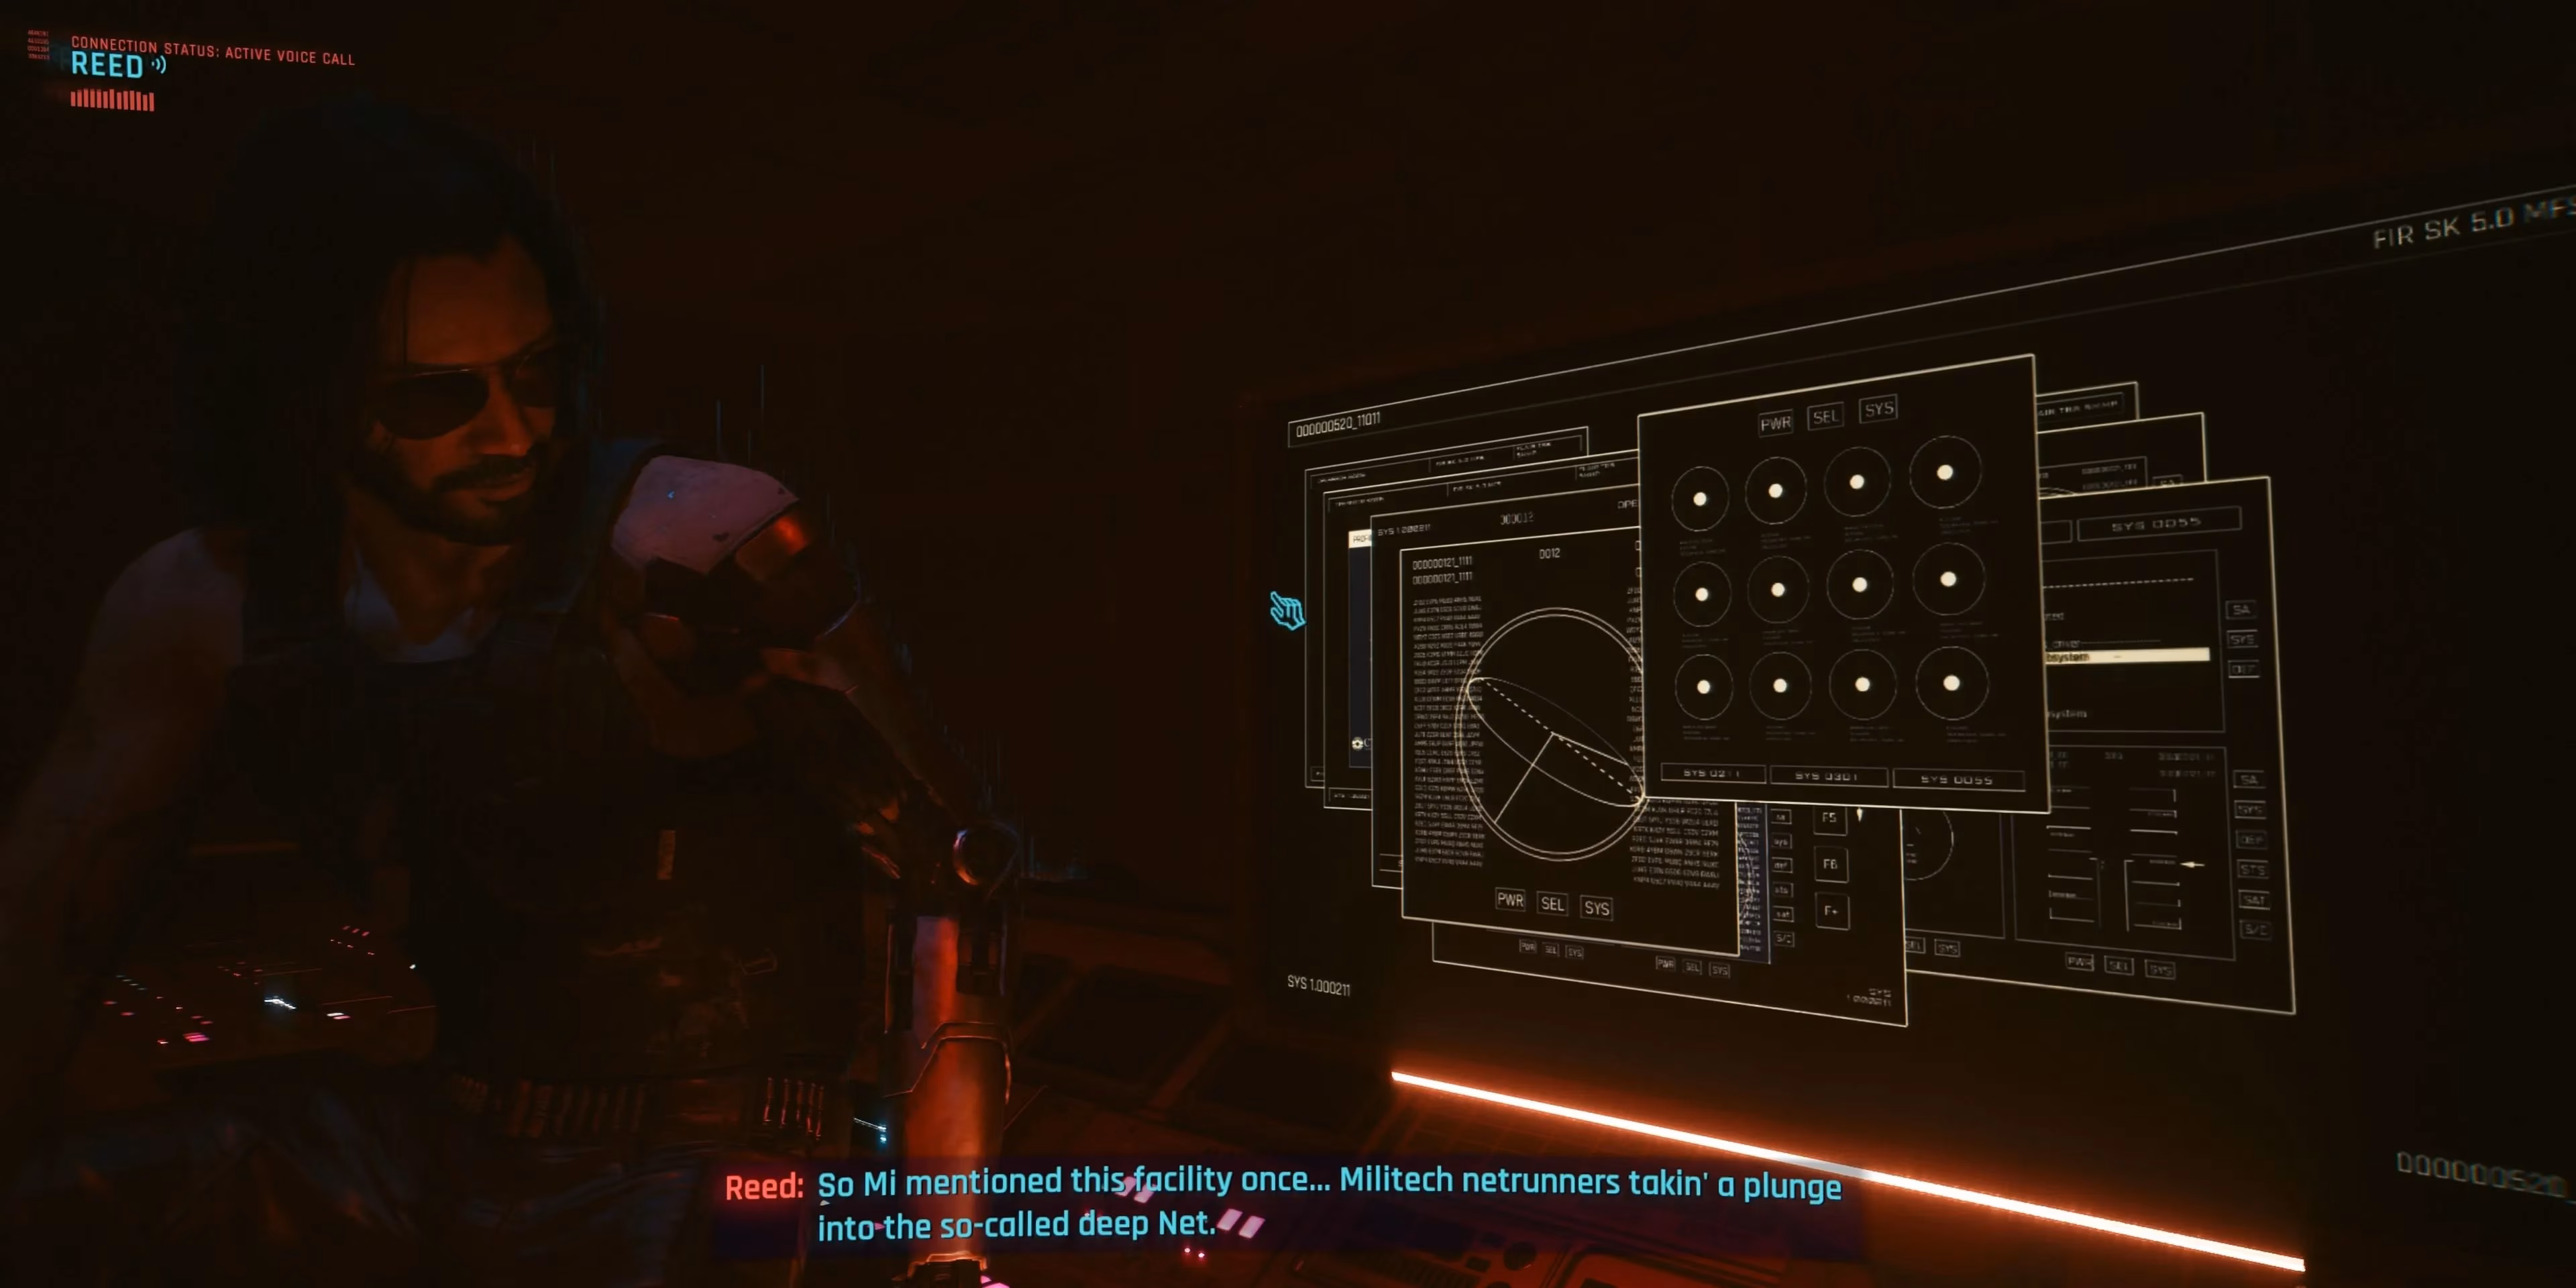
Johnny dubs Cynosure “the cyberspace equivalent of a nuke,” and the atmosphere delivers. The first room demands a connection to a central terminal, but halfway through, every screen becomes Songbird’s face. She crashes the system. With no other path, V must turn 180 degrees and force open a door that requires a minimum of 3 Strength — a low bar for any build.
An elevator waits in the vast hall beyond. Selecting -01: Restricted Area triggers a lengthy descent. During the ride, an optional dialogue with Johnny lets V question motives — is this for Reed, for a cure, or for Songbird herself? Midway down, the Relic flips; Johnny vanishes, the signal to Reed breaks, and V is truly alone. At the bottom, follow the fresh traces down the ramp, take a right through the doorway, and crawl into the ventilation system.
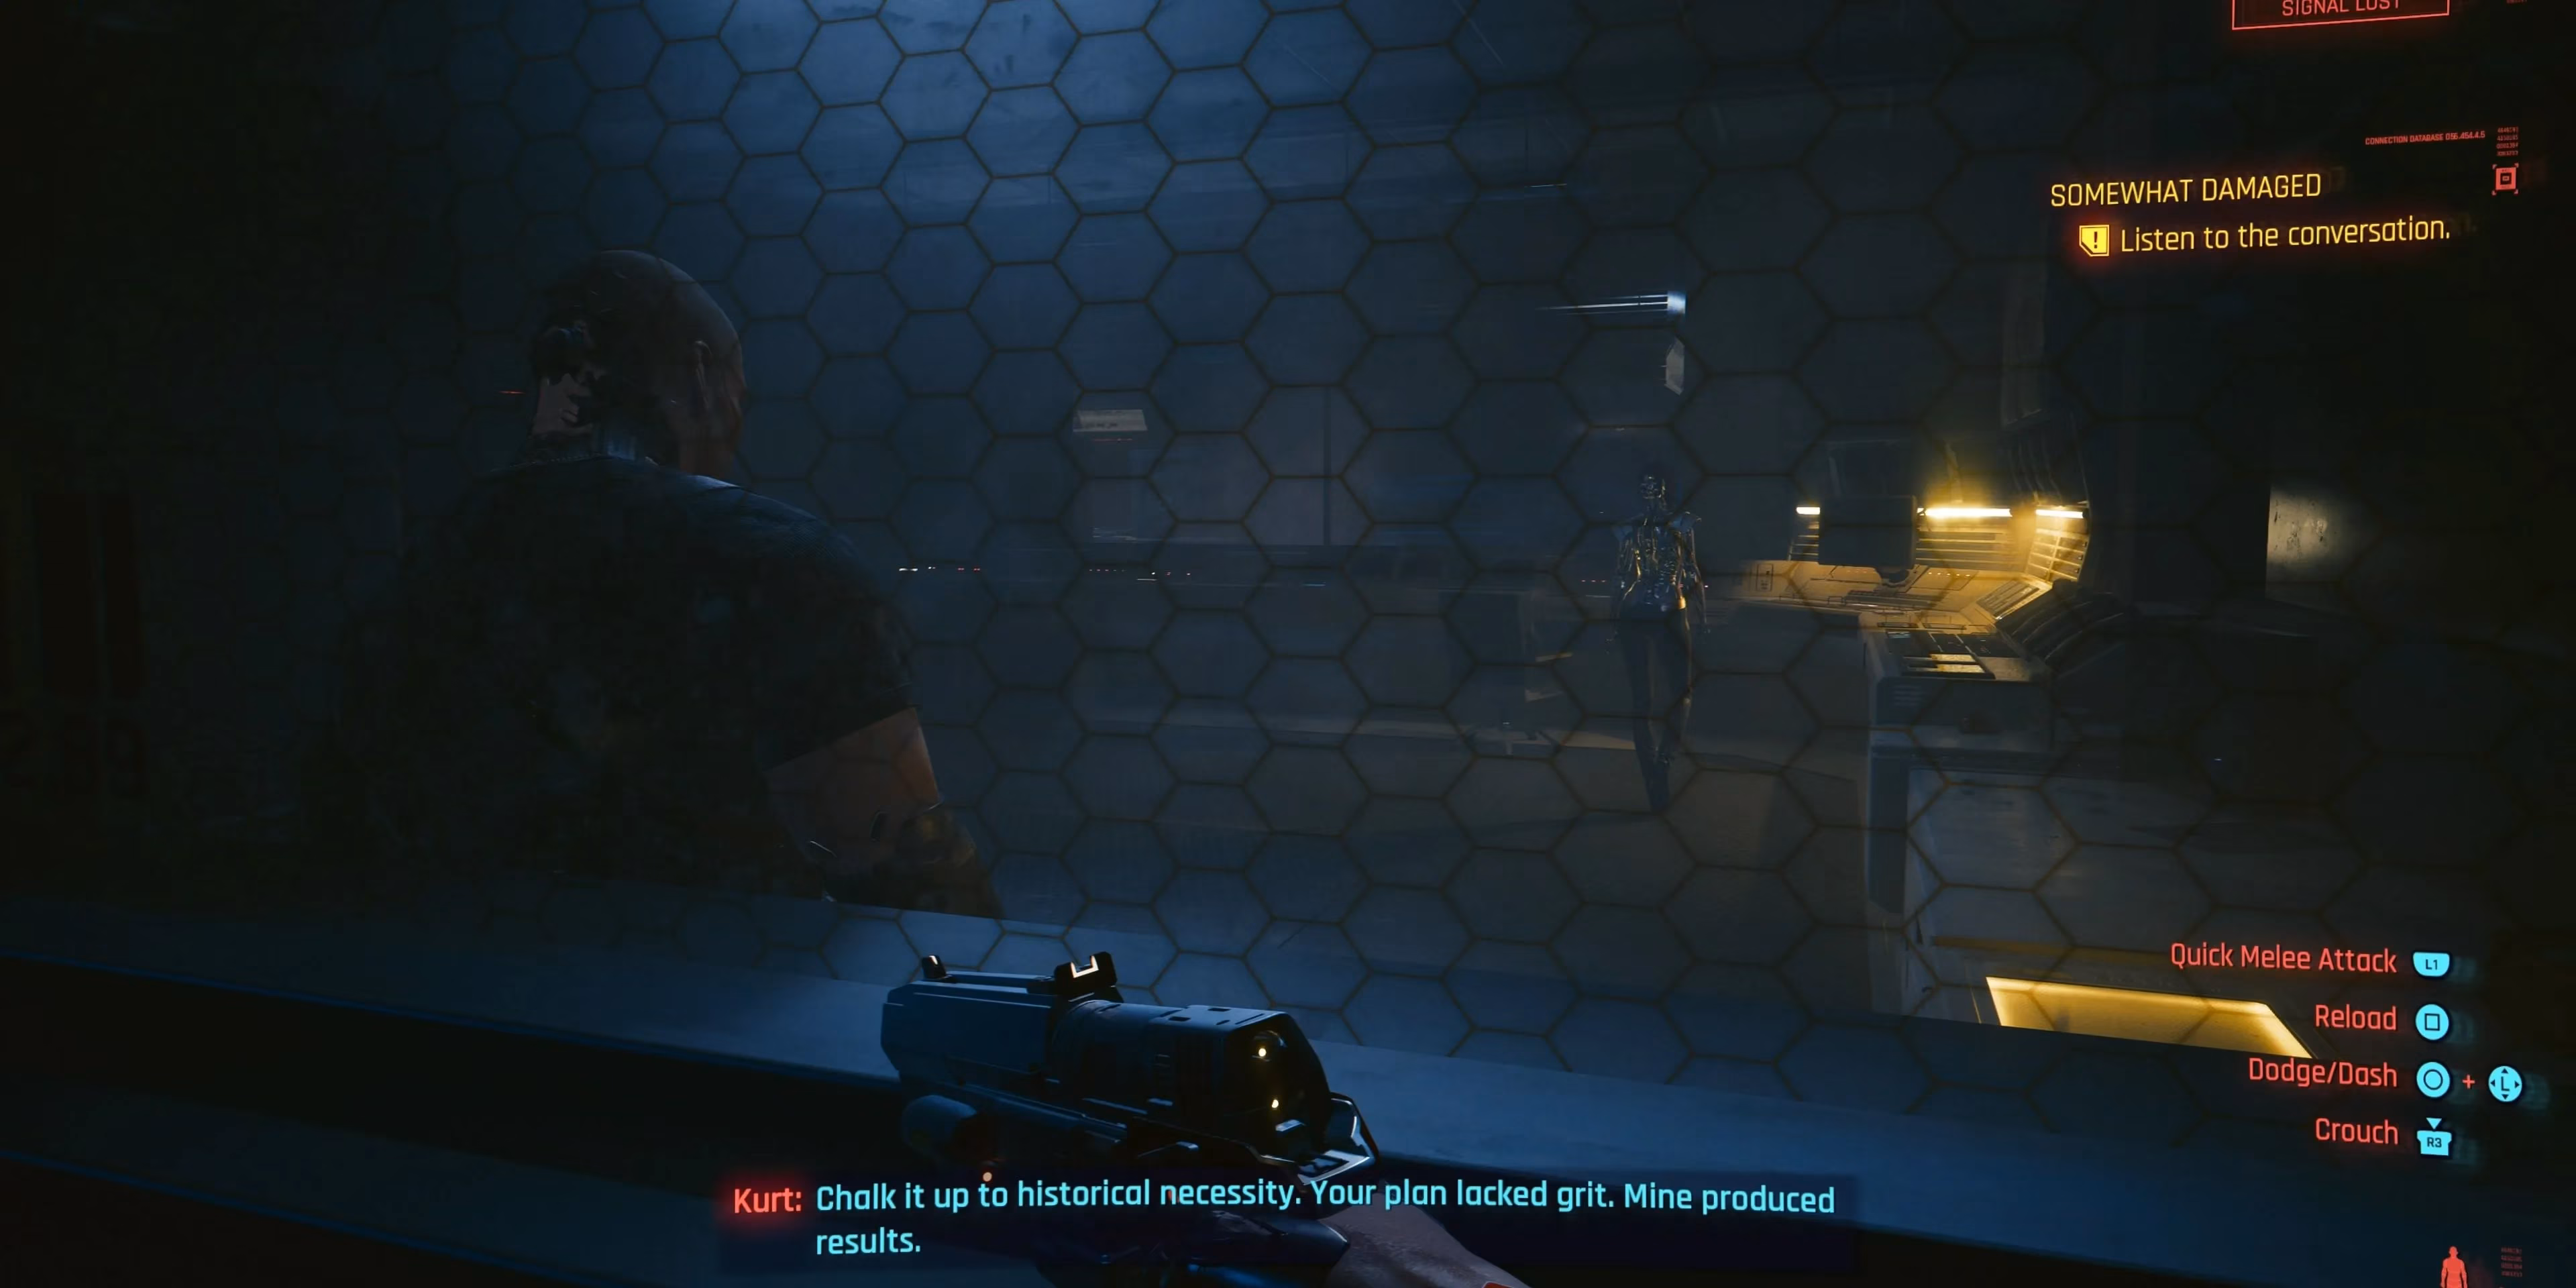
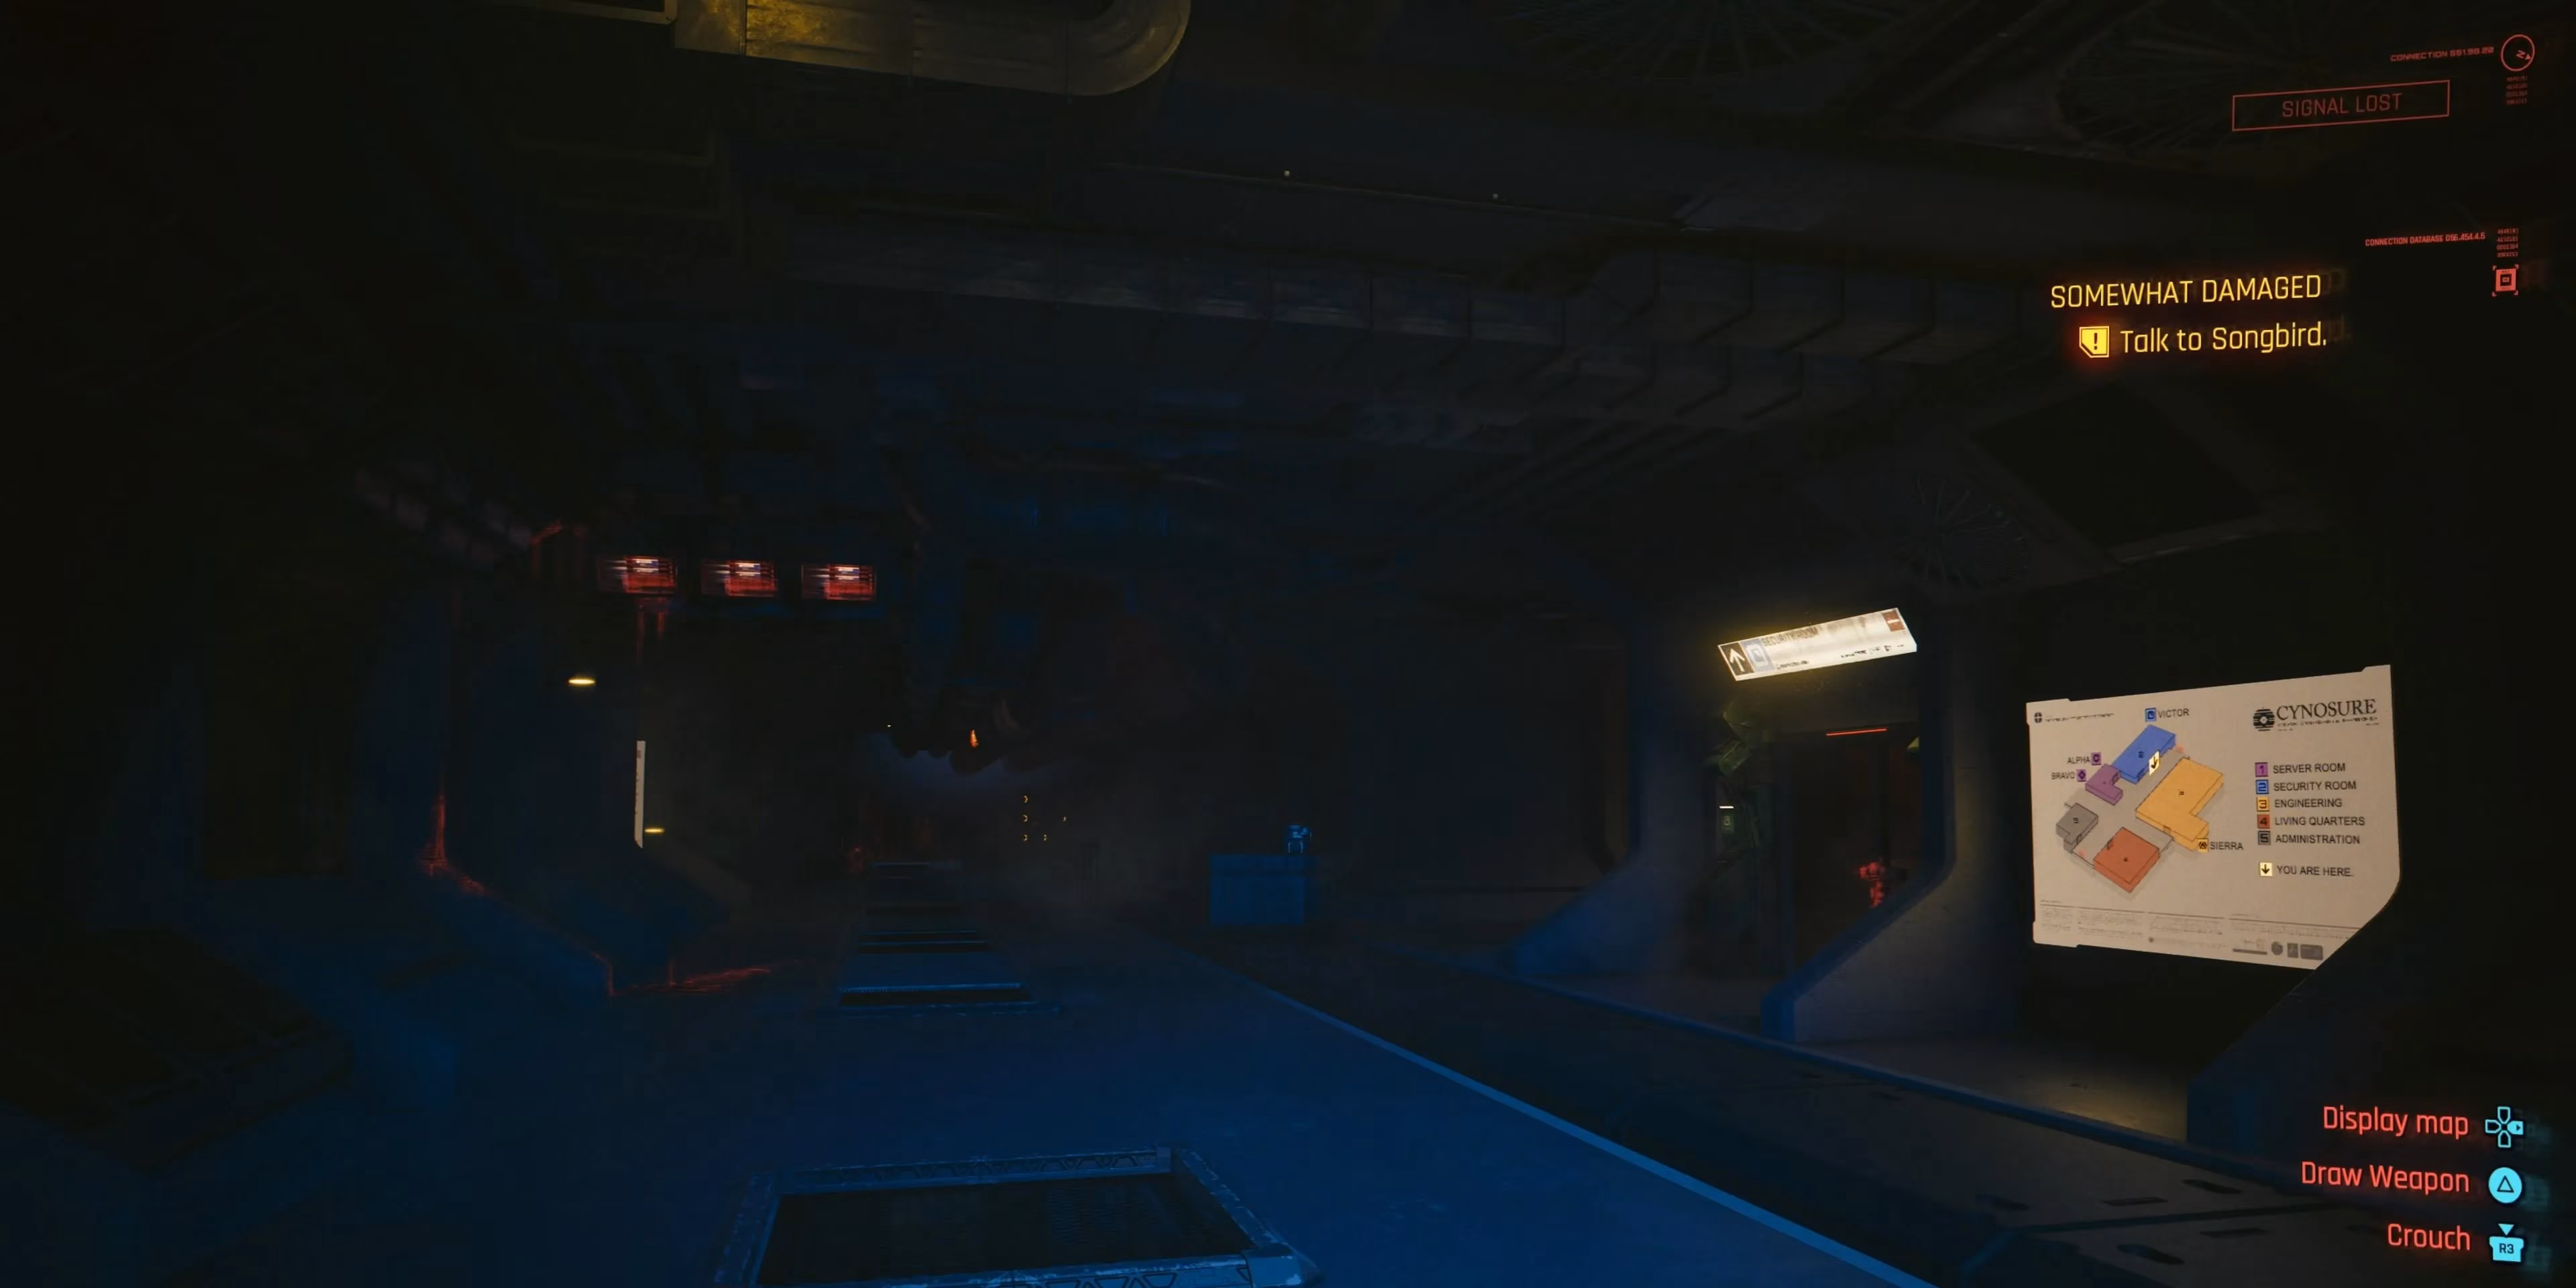
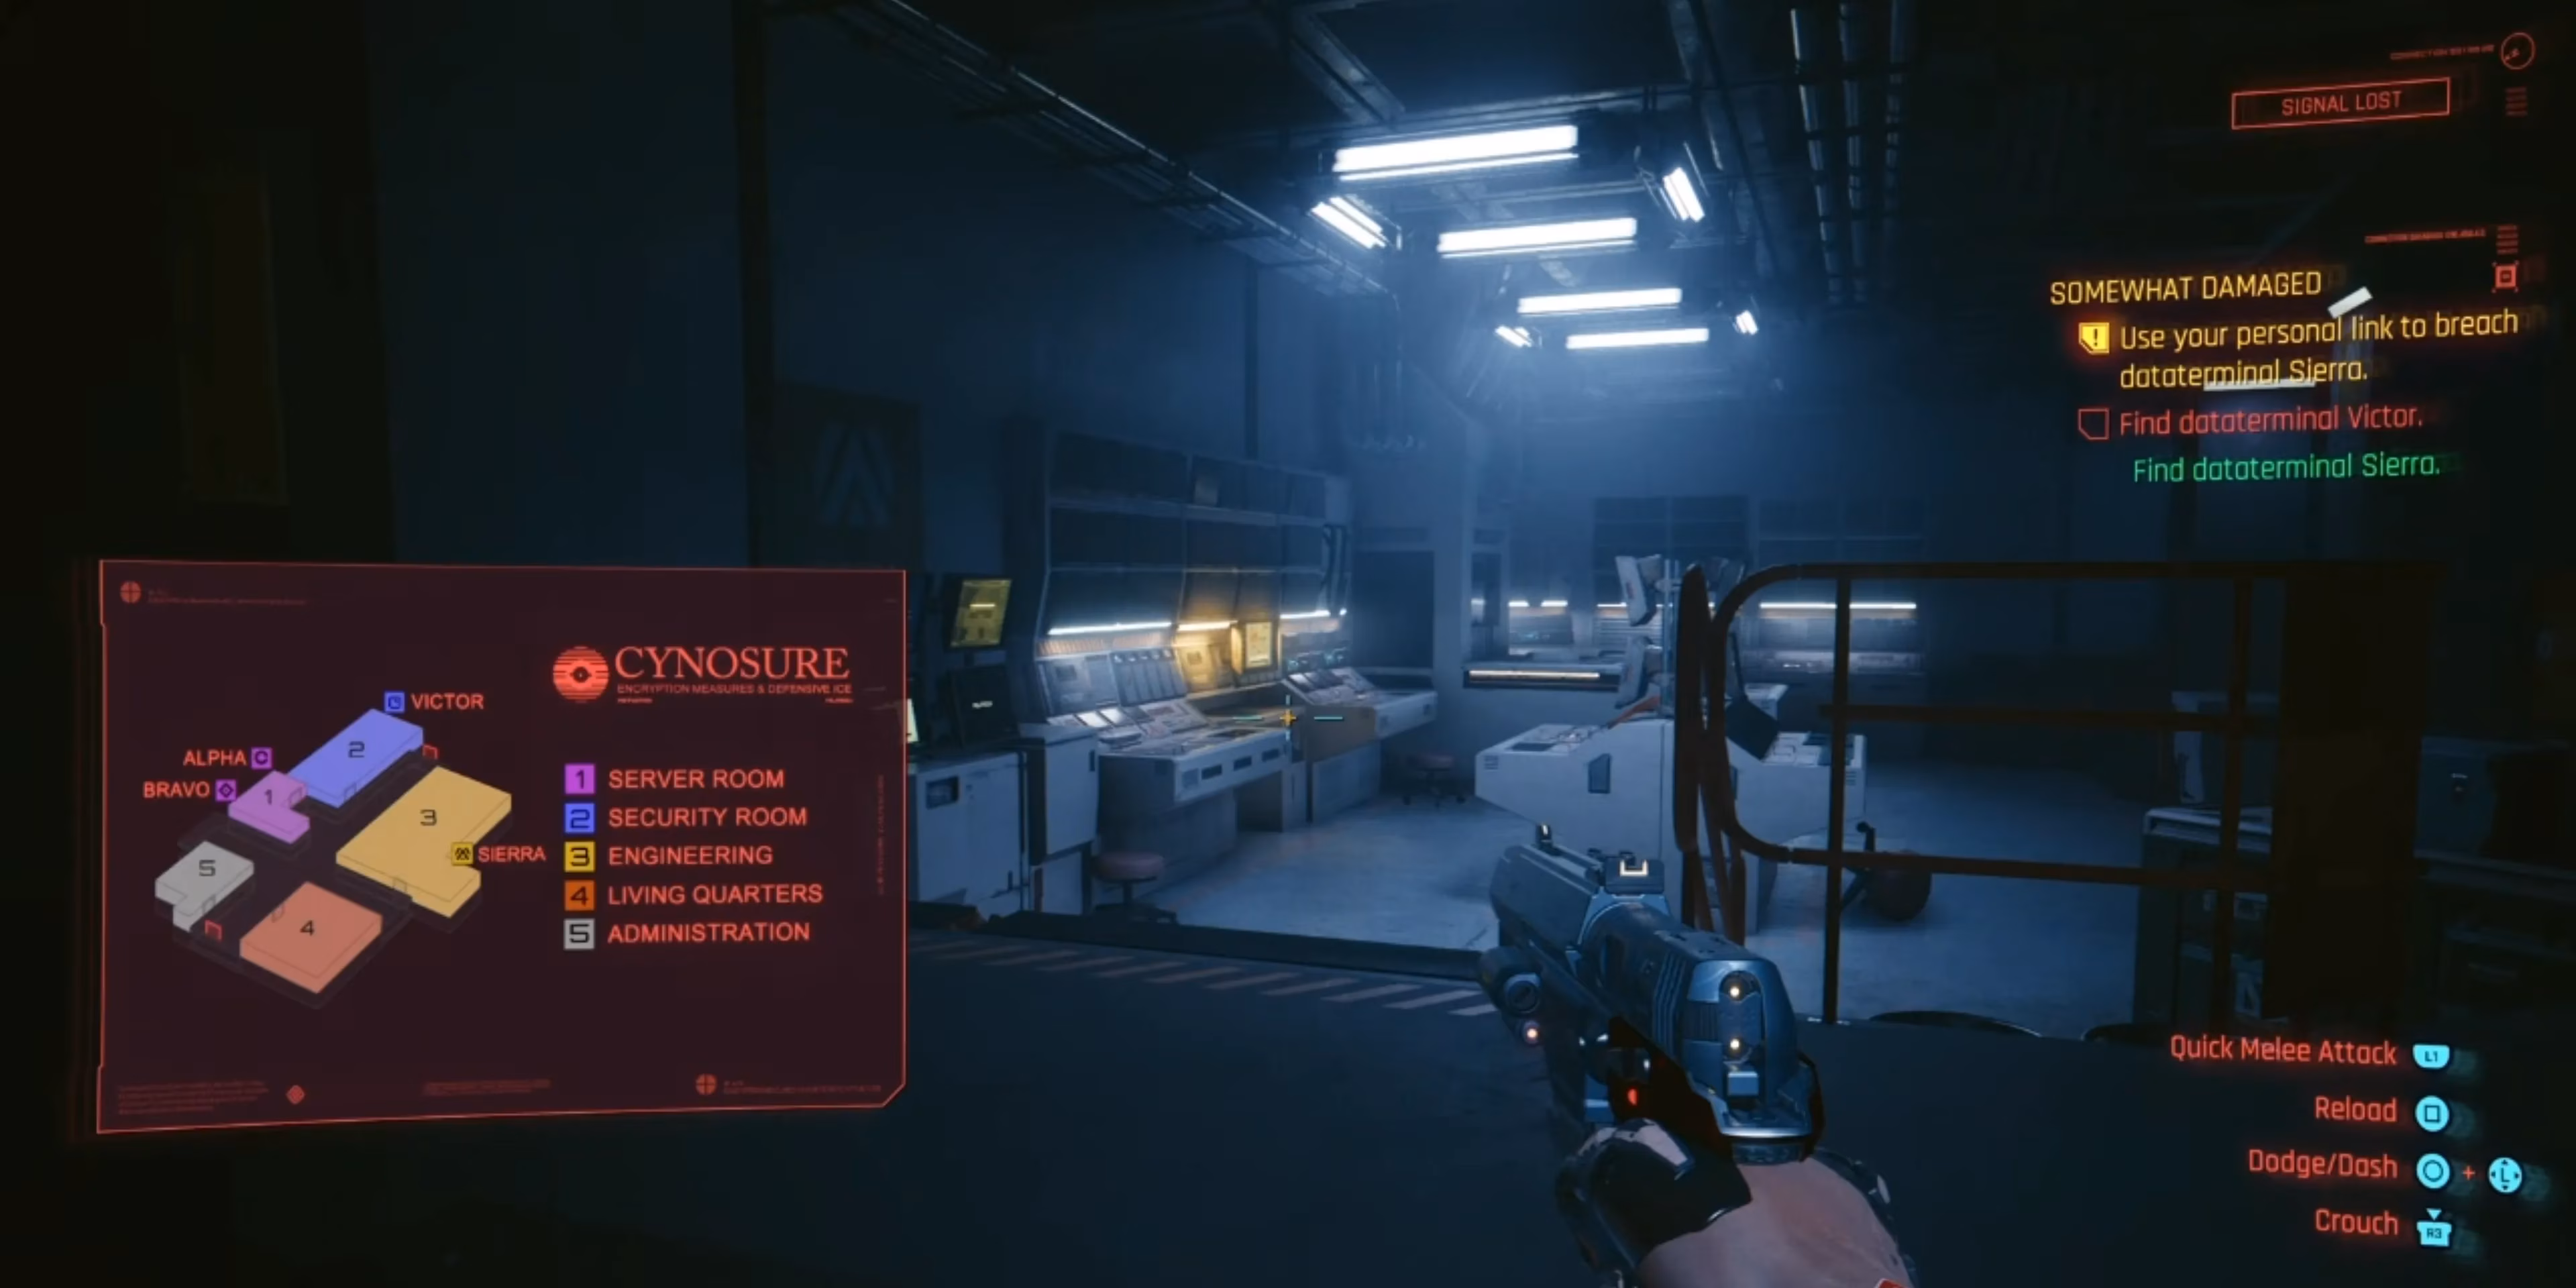
A fragmented memory of Hansen and Songbird plays out after dropping from the vents — a conversation burned into the Relic. Beside her is a Data Map item; pick it up and use it with Right on the D-Pad whenever the layout becomes confusing. After the echo fades, walk toward the large open door where another apparition of Songbird stands. The door slams shut the moment V gets close, triggering a full lockdown.
⚙️ Alpha and Bravo Dataterminals
The lockdown demands deactivating Alpha and Bravo terminals. From the slammed door, head to the right into the Server Room to find Alpha. Jack in, finish the breach minigame (failing just resets it), and the floor hatch behind V pops open. Drop down, keep right, and climb the ladder — this leads directly to Bravo.
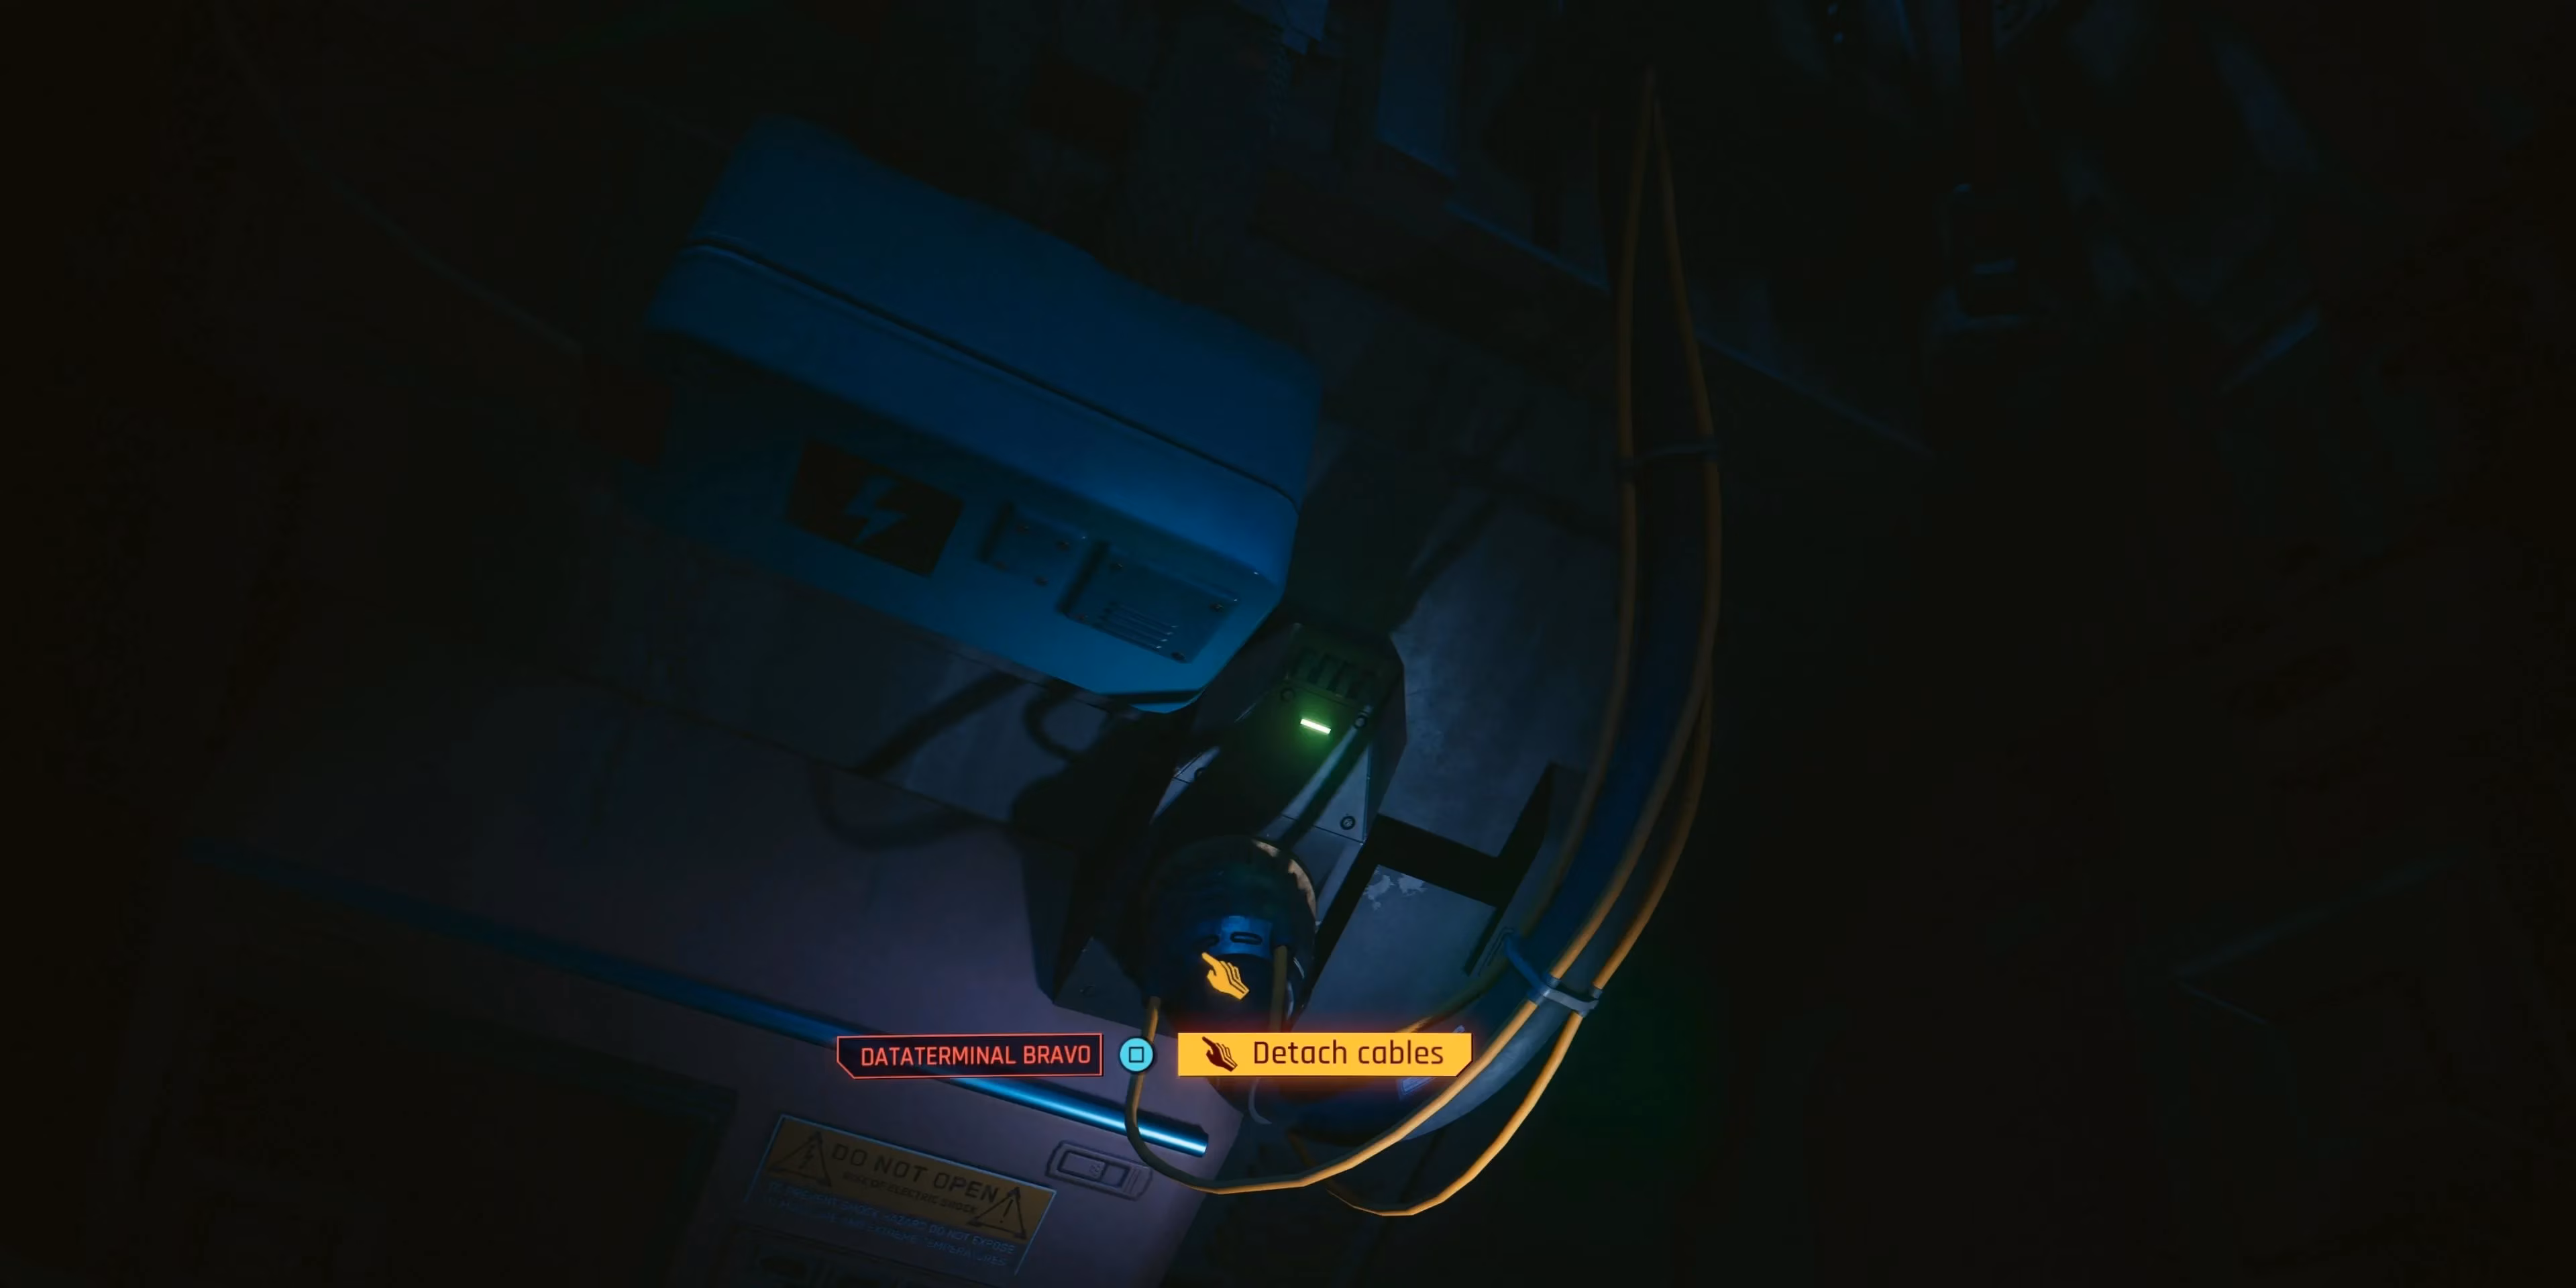
Bravo is booby-trapped. Accessing it ejects V, and Songbird’s influence nearly kills them. To finish the job, scan the terminal, crawl underneath it, and disconnect the highlighted cables manually. As soon as V emerges, a grate collapses onto them. Shoving it off reveals the true horror of Cynosure: the Cerberus robot. Songbird briefly hacks it, throws V into another room, and then the chase begins.

👾 Evading the Cerberus
There is one immutable rule: Cerberus cannot be fought. It patrols halls blindly but reacts to sound and sudden movement. If it spots V, a scripted death follows. The segment becomes a tense stealth puzzle. Songbird’s voice will occasionally warn when to hide. Key tips for survival:
-
📴 Never run or fire weapons — the noise profile attracts the robot instantly.
-
👀 Pay attention to screen flickering — it signals proximity.
-
🗄️ Use designated hiding spots (under desks, behind crates) and wait for the robot to leave.
-
💾 The game often quick-saves once the robot exits an area, giving a checkpoint of sorts.
Once Bravo is done, the main objective shifts to reaching Sierra and Victor terminals. The path is winding, but a reliable route exists.
Sierra Terminal
From the checkered tile room, take the left door, then head right. A second right leads to the Engineering sector. Inside, immediate right through another door brings V to Sierra. Complete the daemon code sequence; the Cerberus often enters before or after, so stay crouched and look for a hiding spot fast.
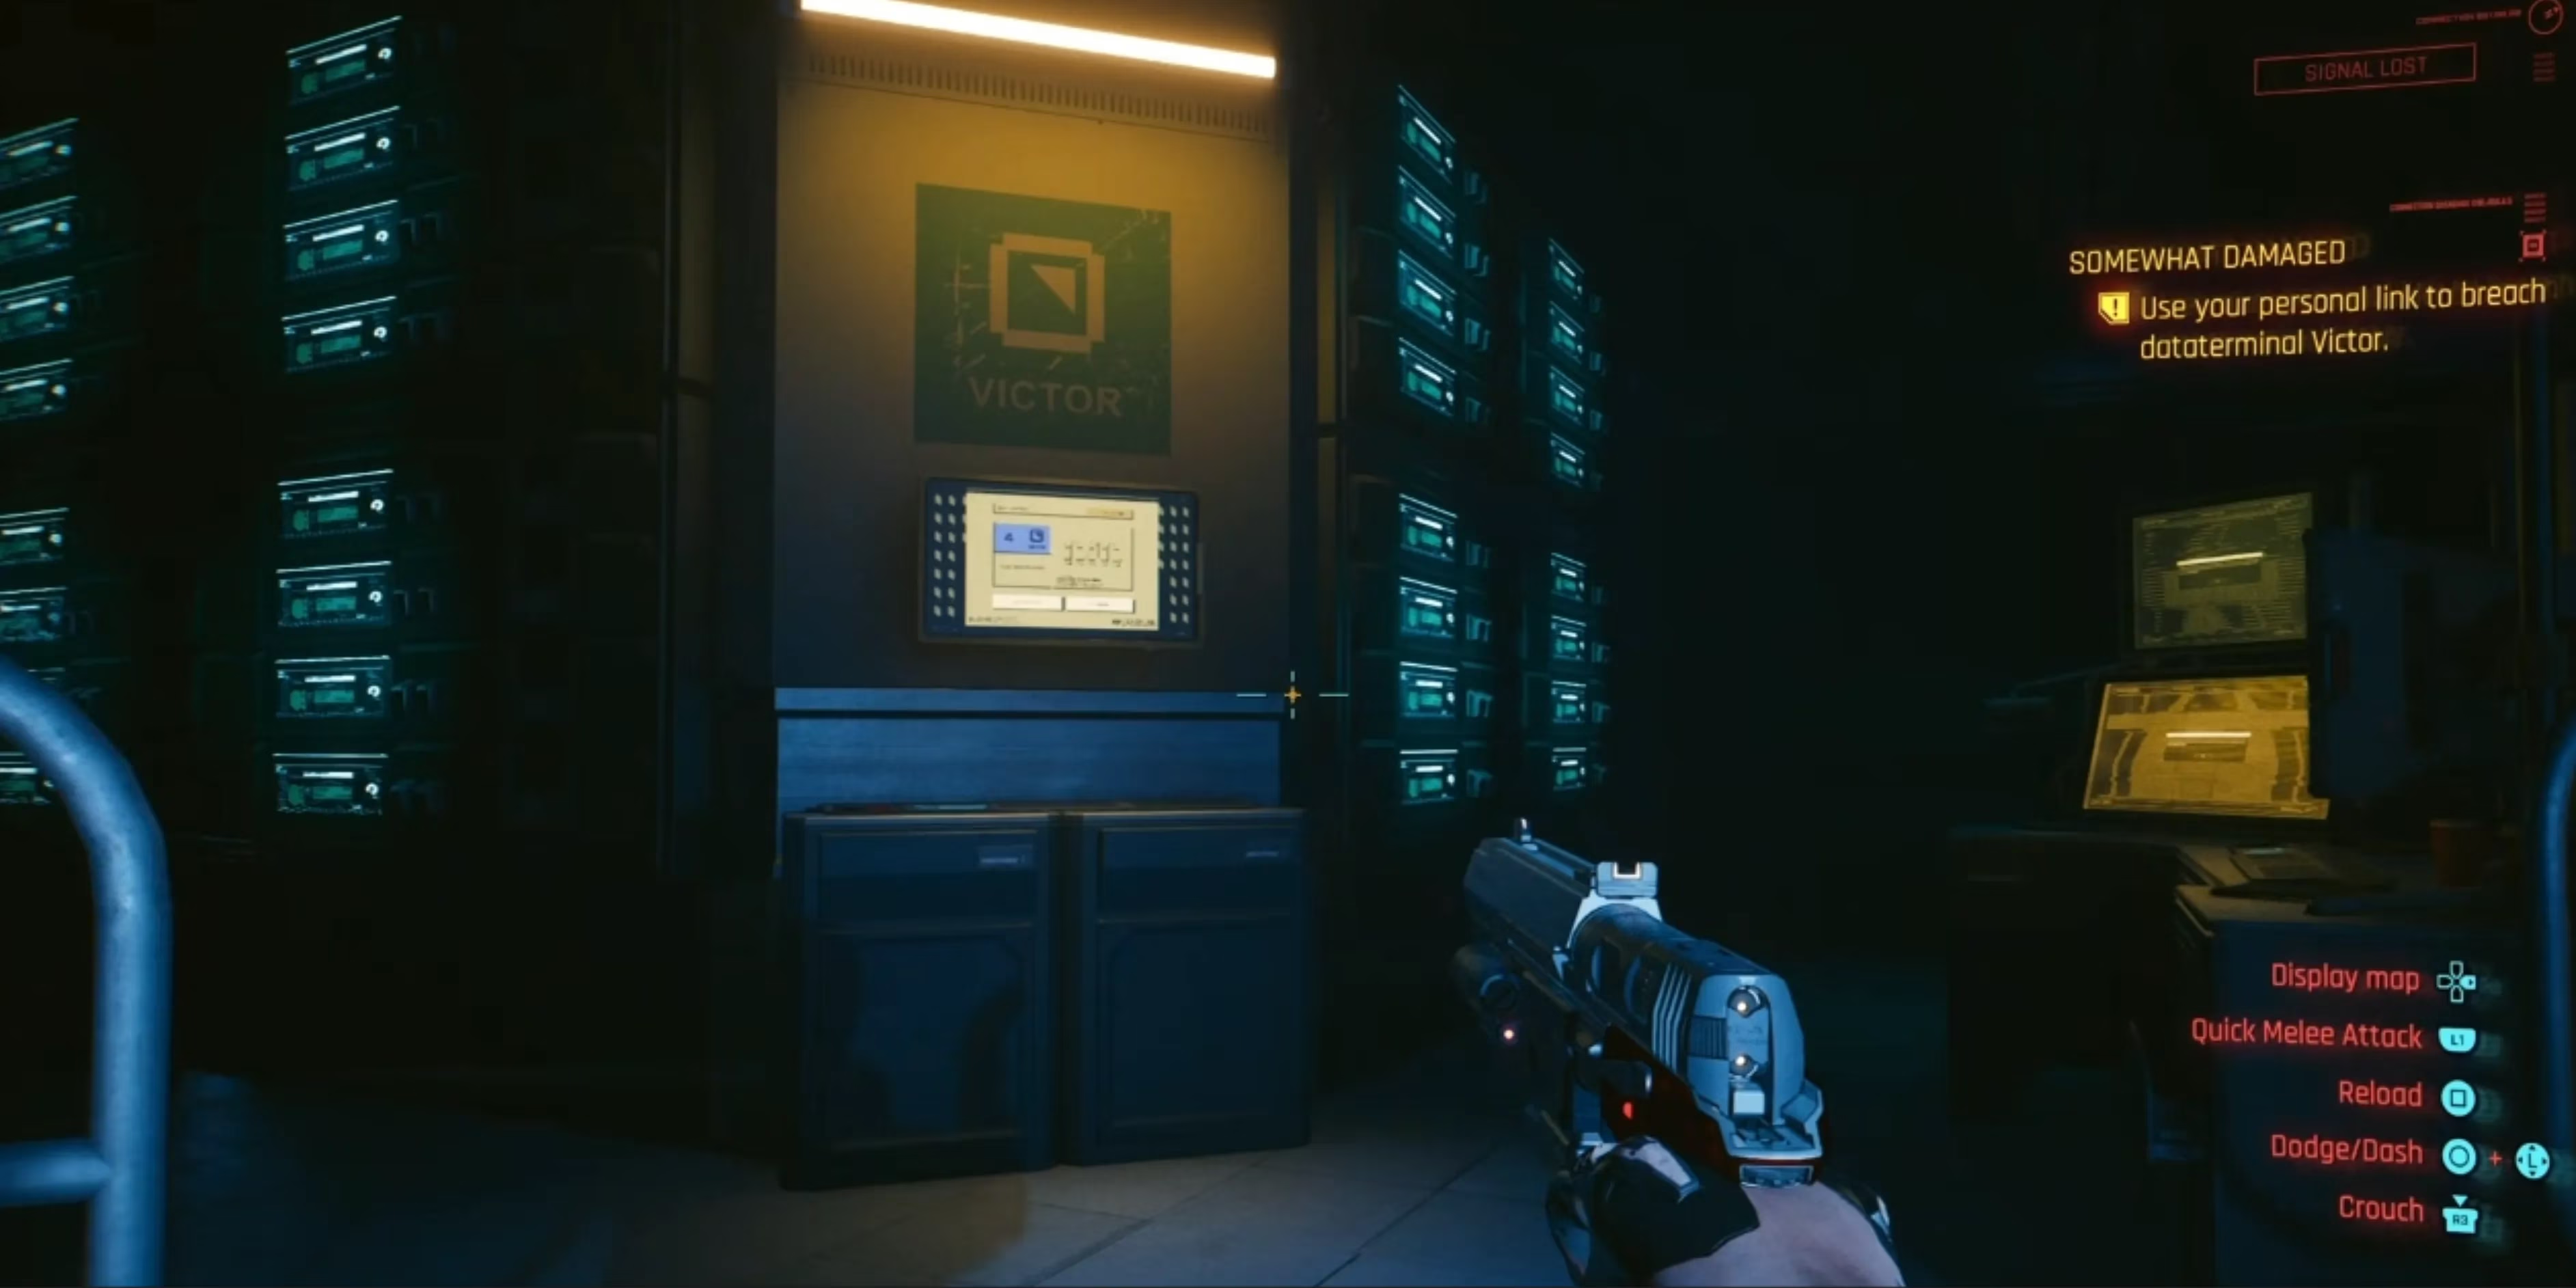
Victor Terminal
Exit Engineering by going left, then immediately right and right again into a long corridor. The Security Room is on the left through a double door. Inside, a small room to the left provides cover — the robot will investigate. Once clear, hop through the window into the main security area, complete the daemon sequence, then hide behind the boxes on the right as the robot returns for a final sweep.
After both terminals are disabled, return to the gate on the left and use the computer terminal to start the override. The process takes time, so retreat to the Security Room and wait. When the door unlocks, a sprint through Sector 3 begins. Double jumps and dashes are the best tools here to vault obstacles. At the far end, open a door via a wall screen, then use another screen inside to close the door behind V — trapping the Cerberus outside for good.
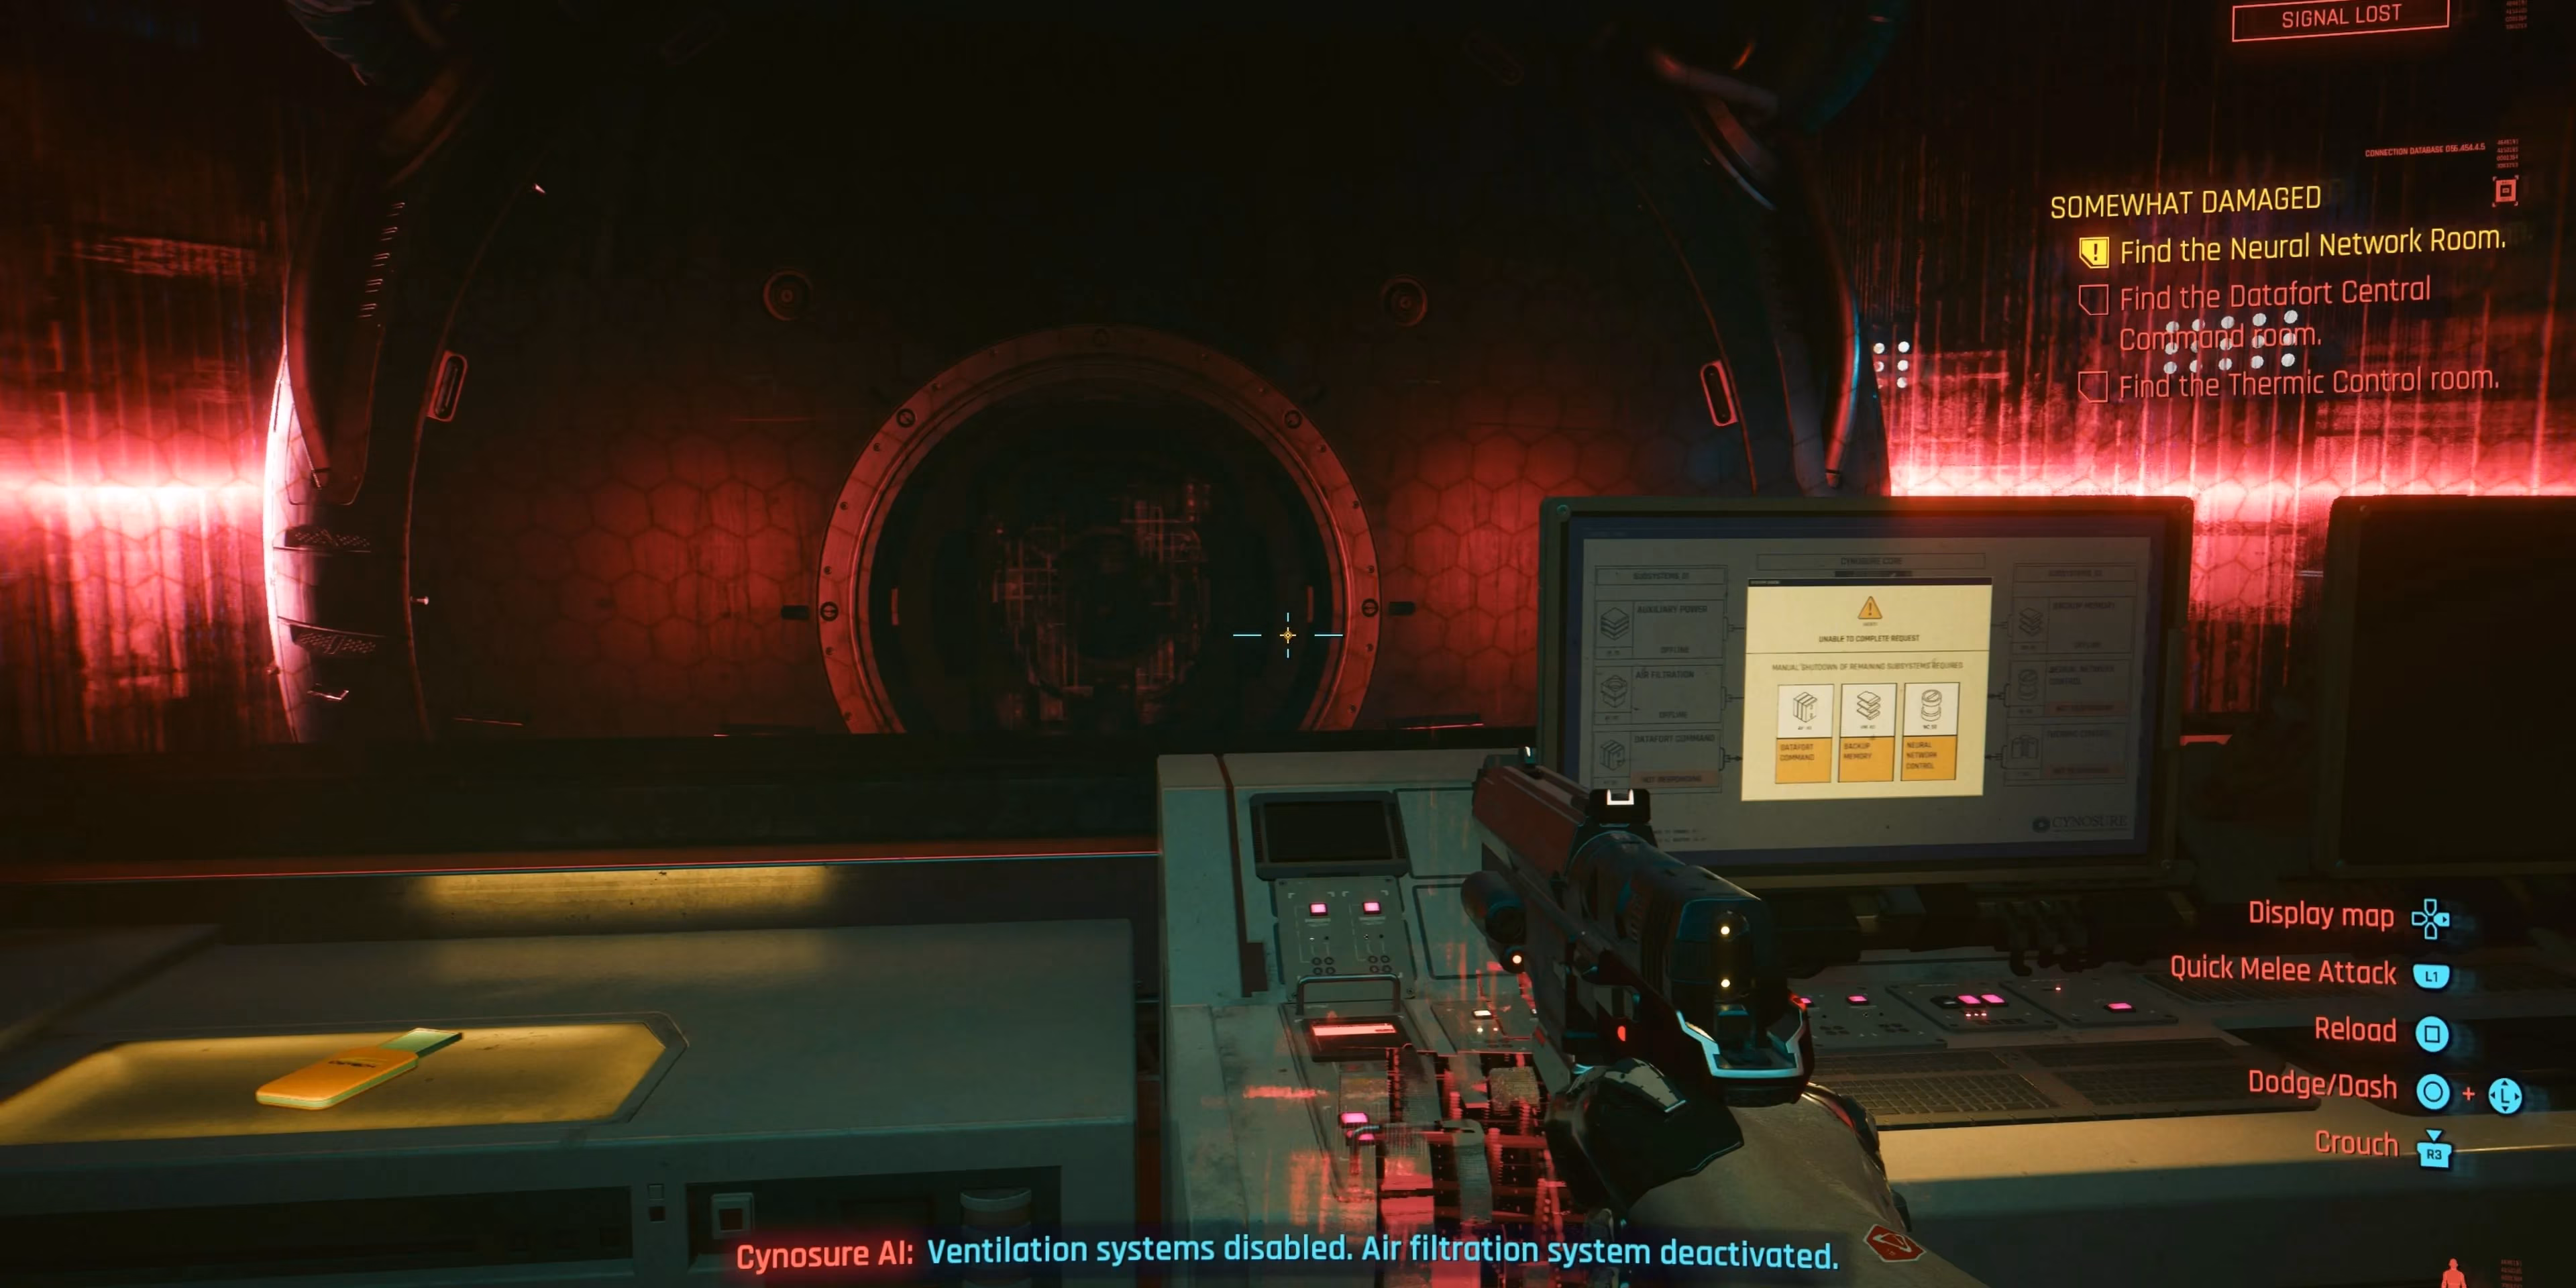
🔥 The Core and Final Confrontation
Songbird speaks directly to V from inside the Core. The shutdown procedure is triggered through the central terminal, but three manual overrides are needed: Datafort Command, Neural Network Control, and Thermic Control. The Neural Network room is the first stop — head up the stairs opposite the terminal and go left into the Labs.
Inside the Neural Network room, access the terminal to start, then use the scanner to trace the floor cables to three ports around the room. Disconnect them all, and the Cerberus will burst in. The only way to avoid a grisly end is to loop around the central computer panels until the robot leaves — there is no better cover.
Once all manual shutdowns are complete, the core becomes unprotected. V will face Songbird in a direct confrontation where the player must decide her fate: spare her, granting a final mercy, or honor the deal with Reed and turn her over to the FIA. Both choices have profound consequences for the Phantom Liberty ending, and there is no turning back after this moment.
Somewhat Damaged is a masterclass in dread, testing patience and resolve far more than combat skills. The combination of environmental storytelling, stealth survival, and a heartbreaking final dialogue makes it one of Cyberpunk 2077’s most memorable missions. Stay silent, move deliberately, and prepare for the weight of the choice that closes this chapter.